There’s something about the slowness and delayed gratification of bread baking that makes it equal parts appealing and intimidating. However this easy, no knead focaccia bread recipe is mostly appealing and a great place to start. Plus the end product is insanely satisfying (and delicious). I’m definitely a beginner when it comes to bread. So, I did my best to keep this recipe simple and share what’s worked for me so far!
A FEW TIPS BEFORE YOU START:
- TIMING: This recipe is simple and quick. Although the steps are spread out over hours. I recommend starting the dough before bed and letting it rise over night in the fridge (10-12 hours). Then press into your pan to rise on the counter (2-4 hours), and finally baked for 20-25 minutes.
- FLOUR: I’ve only used an unbleached, organic all-purpose flour (Bob’s Redmill is my go to) for this recipe and it works great! You could also use a bread flour, alternative flour, or 00 flour which I don’t know much about except that it’s ground really fine.
- GREASING YOUR PAN: Even with all of the olive oil in this recipe, the bread will sometimes stick to the pan. So I recommend using butter (in addition to the olive oil) to grease the pan.

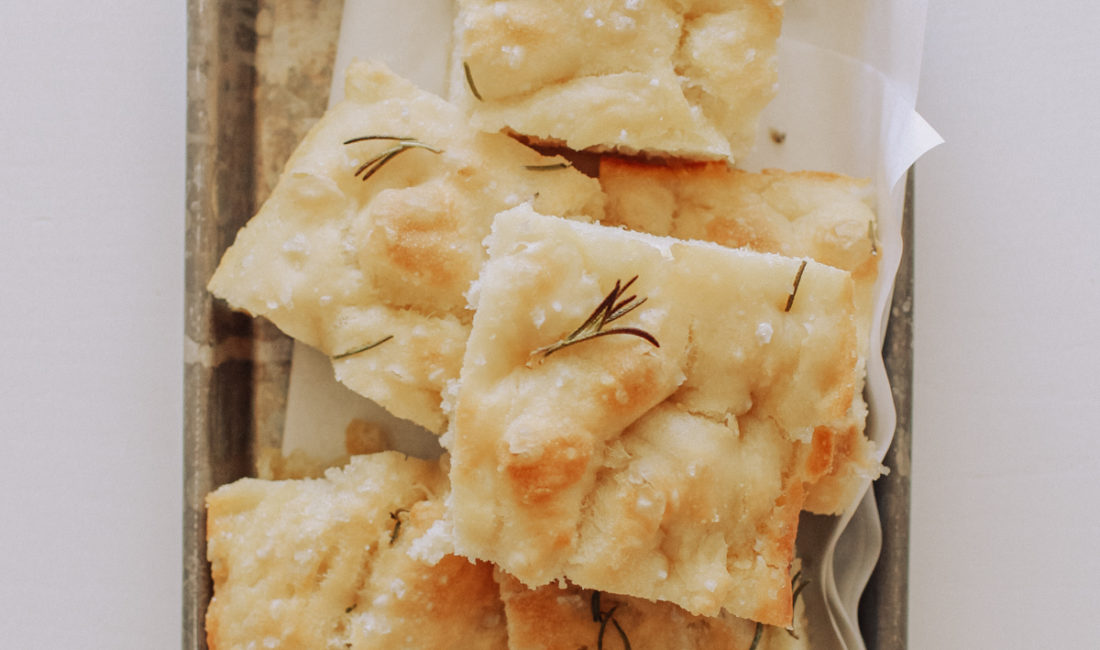
EASY NO-KNEAD FOCACCIA BREAD RECIPE
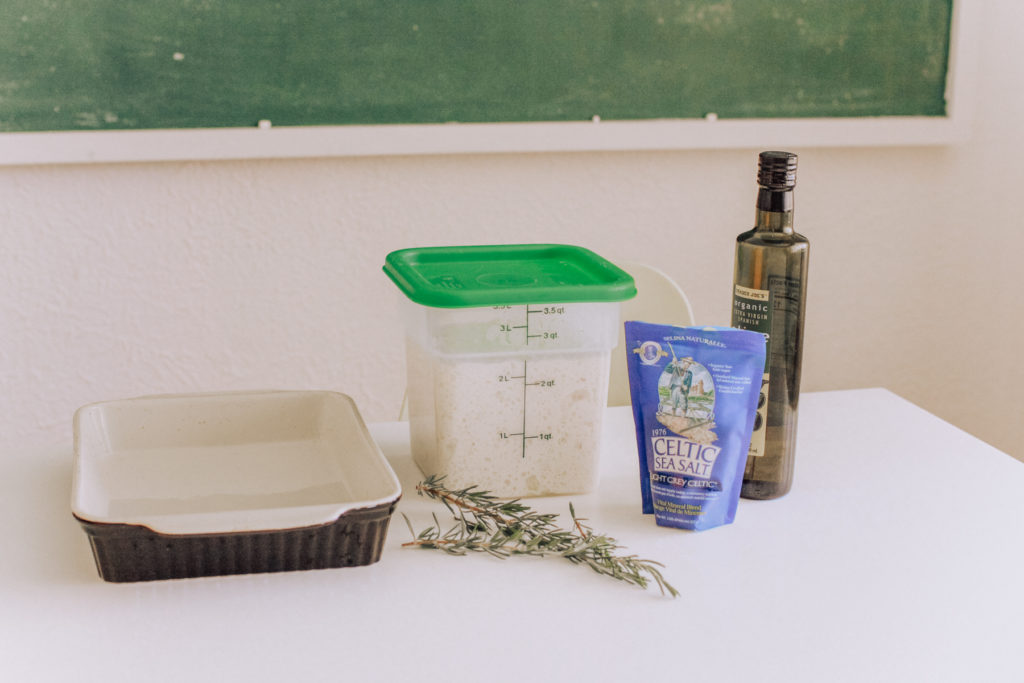
YOU’LL NEED:
- 4 cups all purpose or bread flour of choice (see notes above)
- 2 teaspoons salt
- 2 teaspoons (or one 8 oz packet) instant yeast
- 1 teaspoon sugar
- 2 cups warm water (try mixing 1-1/2 cups room temp with 1/2 cup boiling… should feel like warm toddler bath water – between 120-130 degrees)
- 6-8 tablespoons extra virgin olive oil
- butter (to grease pan)
- fresh rosemary, to top
- Celtic or flaky salt, to top
HERE’S HOW:
- In a large bowl or storage container with lid, whisk together flour and salt.
- Pour warm water in a smaller bowl or large measuring cup and gently stir in the sugar and yeast. Let sit for 5 minutes while bubbles/foam forms. (Hot tip: do a quick search on google if not sure what this step should look like!)
- Pour yeast mixture into the flour mixture and stir to combine. Making sure to get any loose flour at the bottom. Drizzle 2-3 tablespoons of olive oil over the top, cover with lid (plastic wrap or damp towel works too), and place in fridge to rise for 10-12 hours… It should triple in size!
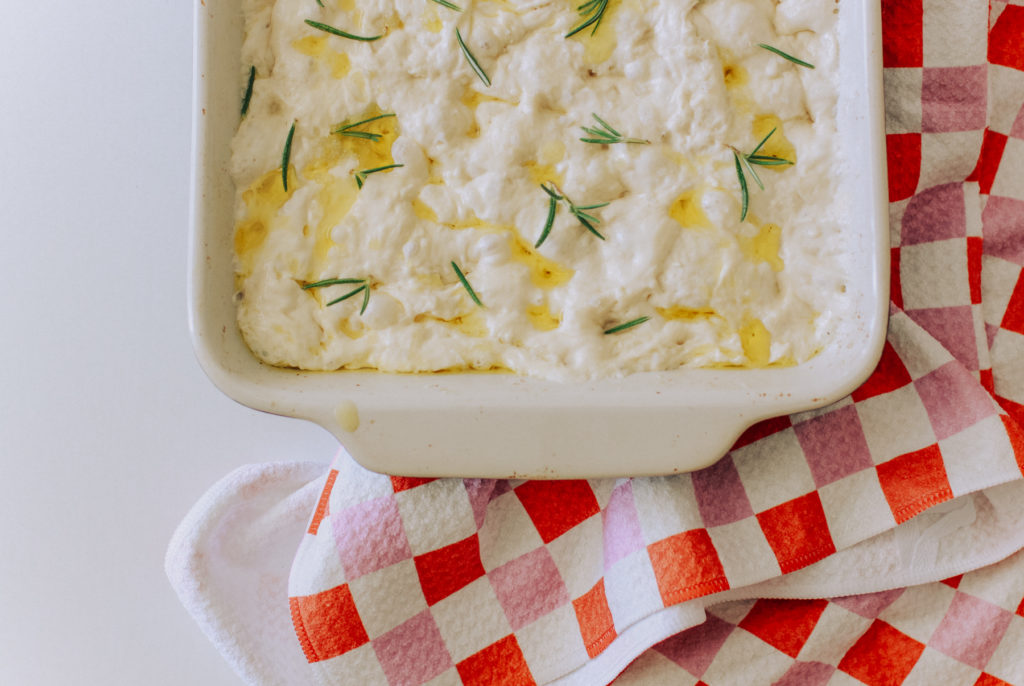
- Grease baking pan with butter and olive oil, making sure to get the sides well. Add a little olive oil to your finger tips and transfer dough to prepared baking dish. Press out into the shape of the pan, making sure the top is level and flat-ish (it doesn't have to be perfect). Cover with plastic wrap (I like to brush it with olive oil first) or a damp cloth. Let sit and rise for 2-4 hours at room temp… it should double (or a little more) in size.
- Preheat oven to 425 degrees and get out your flaky salt, olive oil, and fresh rosemary. Add oil to finger tips again and press into the dough to make dimples. Sprinkle the top with olive oil, salt, and rosemary.
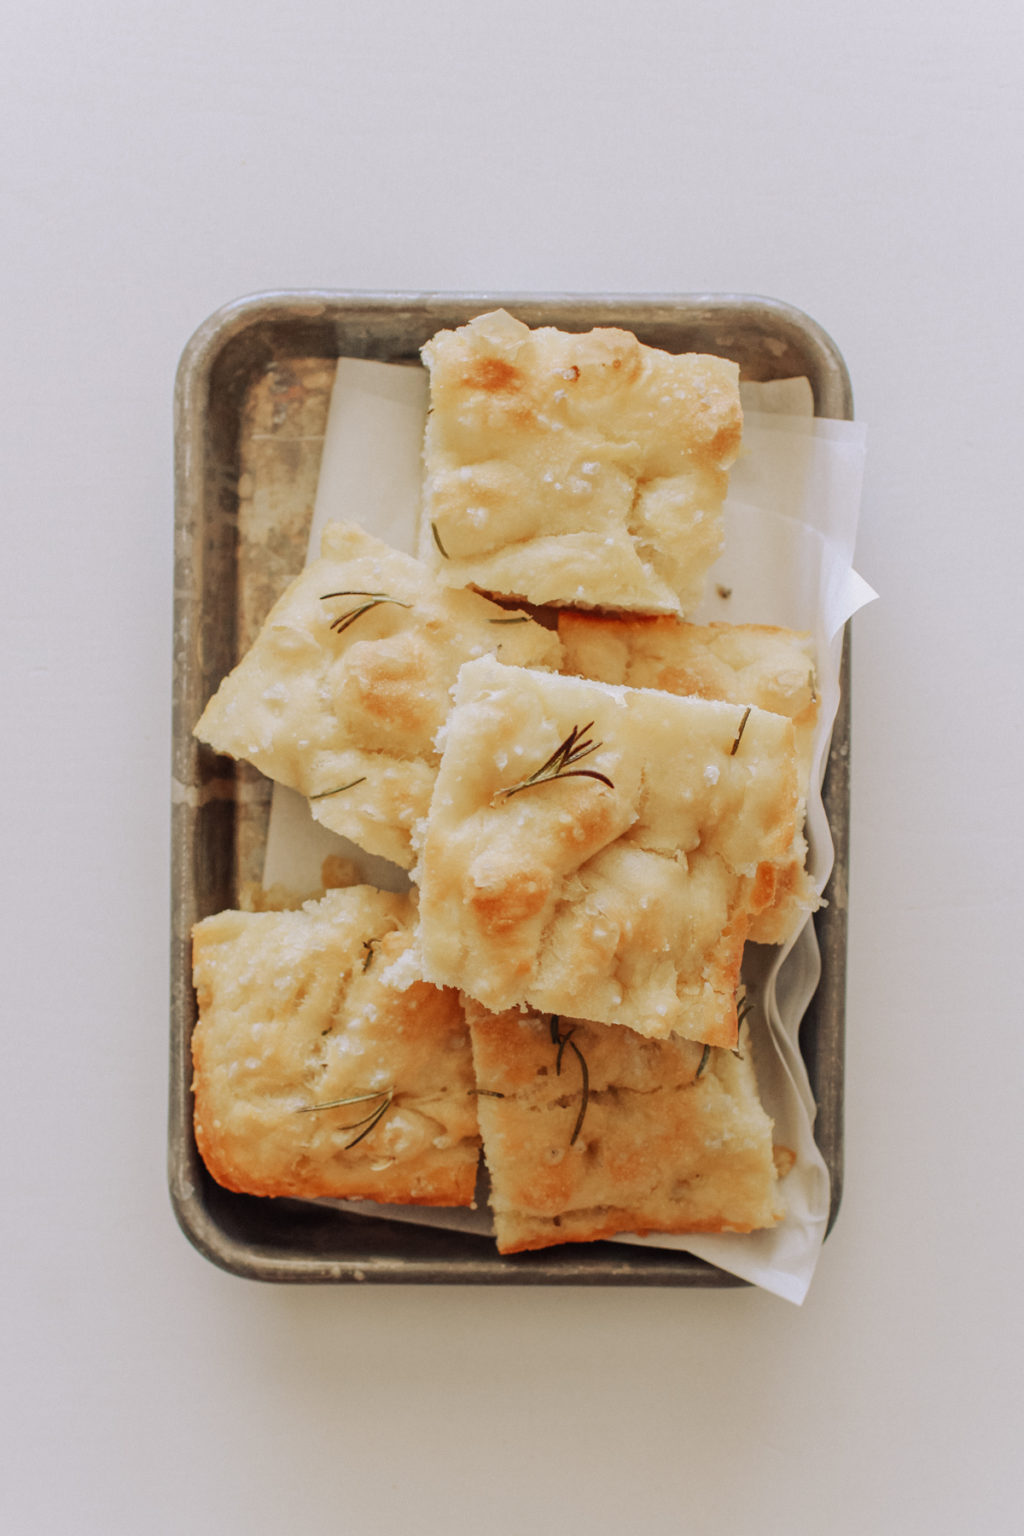
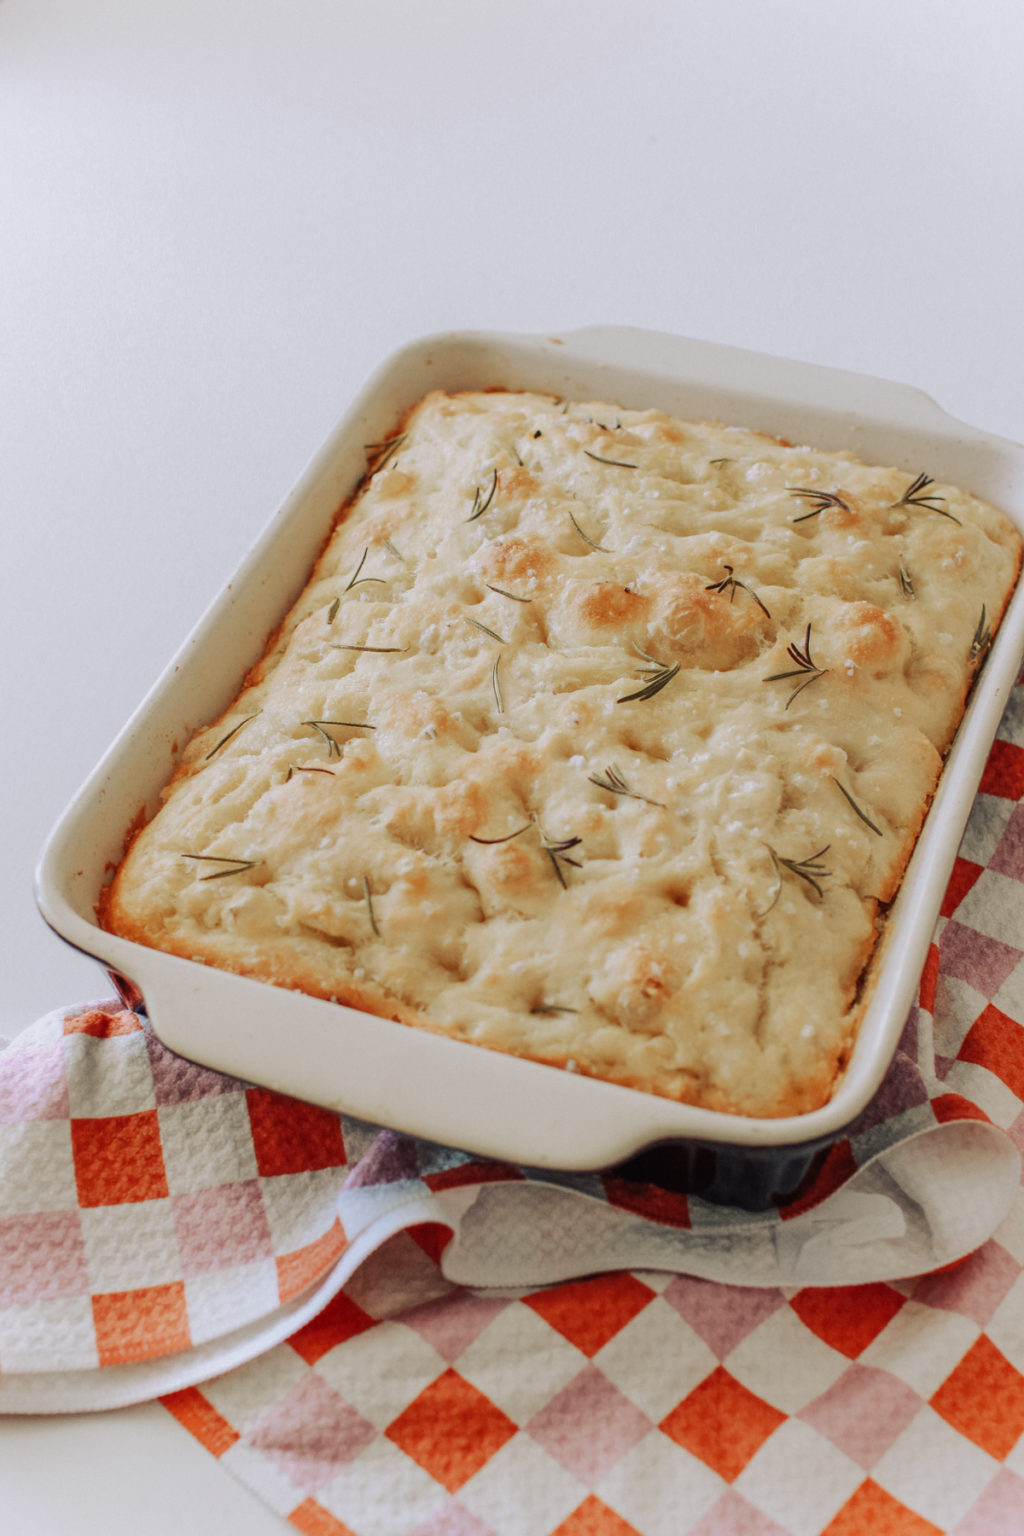
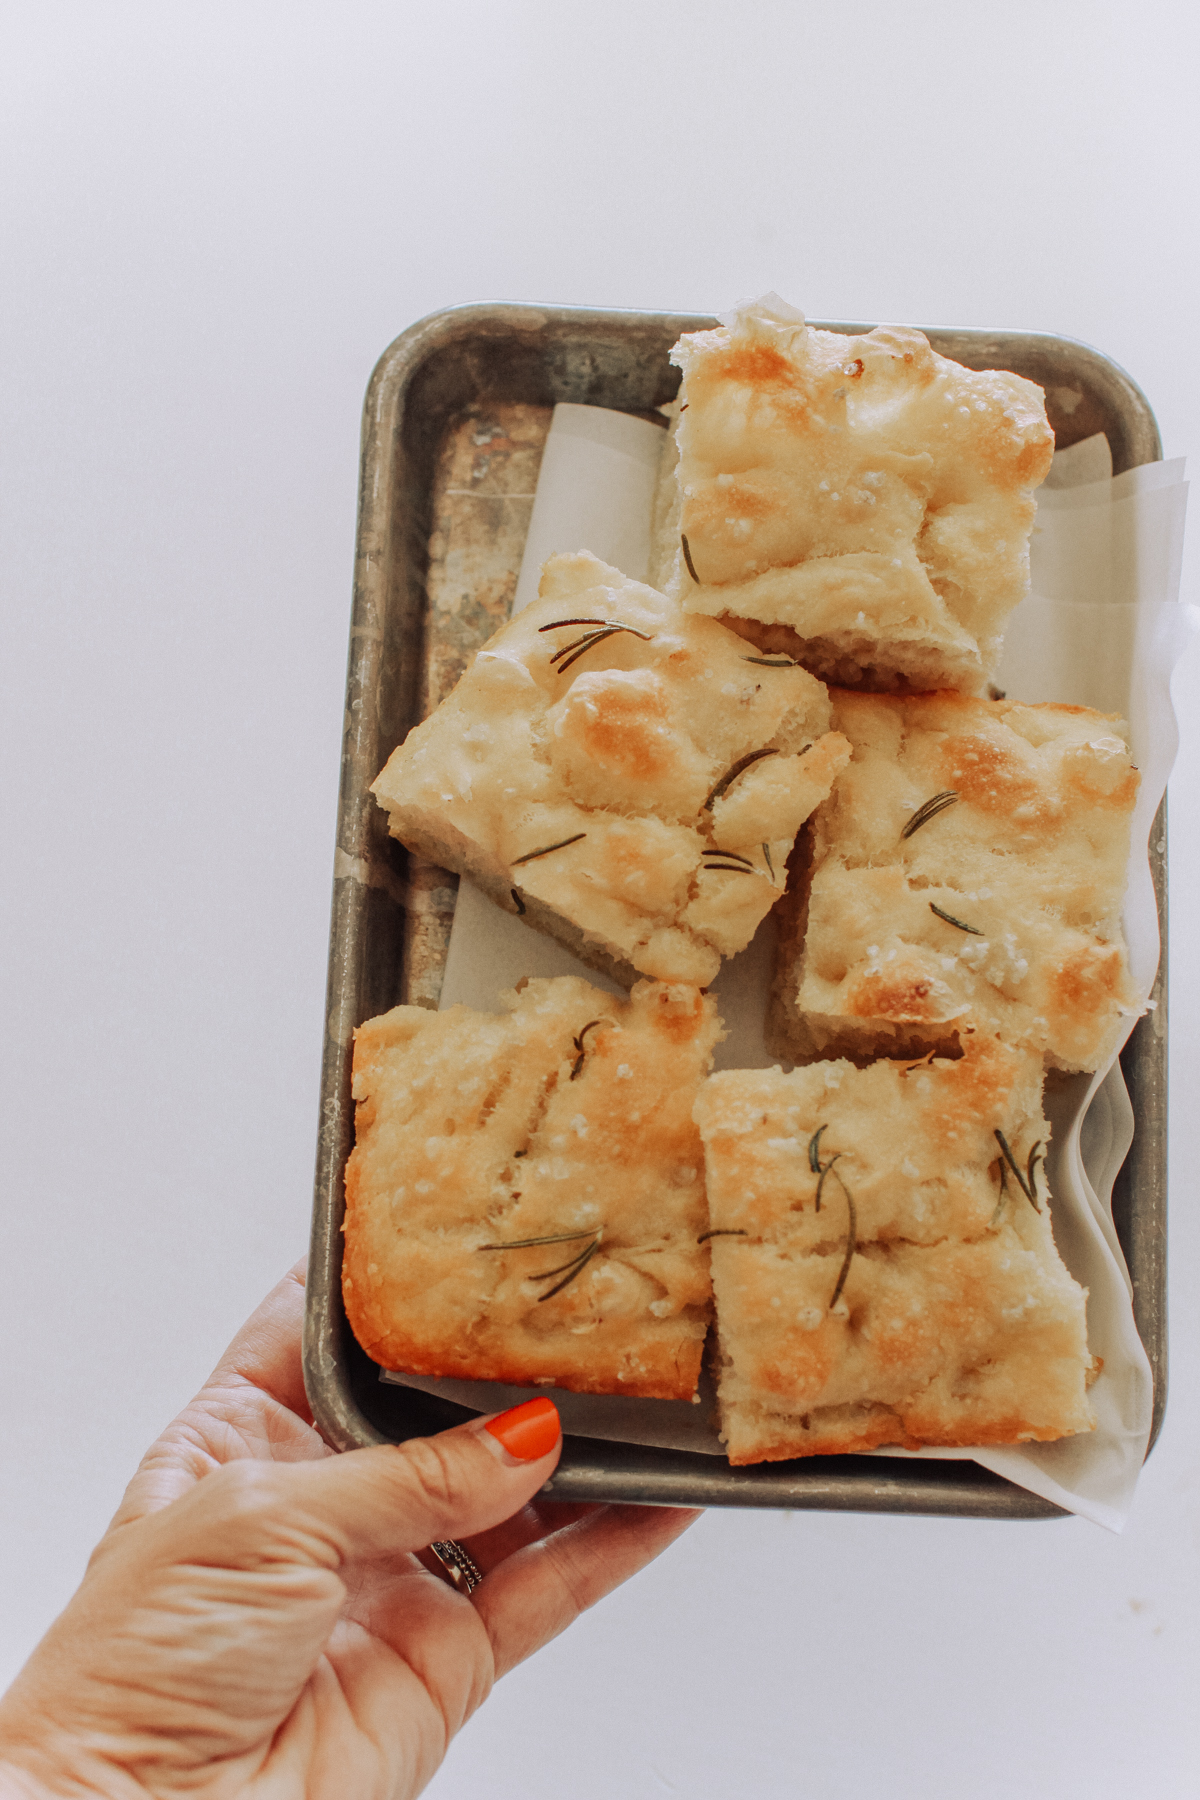
- Bake in the oven for 20-25 minutes or until the bread is a pretty golden brown.
- Remove from oven, transfer to cooling rack or cutting board and let cool before cutting. We love this as a side or sliced and half and served as the bread of a sandwich or bun of a burger! (YUUUUUMM!)
SOURCES: baking dish (or this one), kitchen towel, Celtic sea salt (also like this flaky salt), 4 quart container (not necessary – a covered bowl will do!)


If there was only one kind of bread I could eat for the rest of my life, it would be a toss up between this focaccia bread and croissants. But, this recipe would win in the end because who has the time to make croissants from scratch?!
Let me know if you give it a try! Leave a comment below or tag/DM me @raeannkelly. Hearing from you never get’s old!
I’m thinking bagels or English muffins will be my next bread recipe to perfect. Any other suggestions!?
xx, Rae
OTHER POSTS YOU MIGHT LIKE: A HEALTHY GRANOLA RECIPE THE WHOLE FAMILY WILL LOVE, HAPPY HOUR: SIMPLE AND REFRESHING NON-ALCOHOLIC GRAPEFRUIT THYME FIZZ, YOU’LL LOVE THESE TASTY & HEALTHY BAKED ZUCCHINI PARMESAN CRISPS
[…] RECIPES YOU MIGHT LIKE: HAPPY HOUR: SIMPLE AND REFRESHING NON-ALCOHOLIC GRAPEFRUIT THYME FIZZ, YOU HAVE TO TRY OUR EASY NO-KNEAD FOCACCIA BREAD RECIPE, YOU’LL LOVE THESE TASTY & HEALTHY BAKED ZUCCHINI PARMESAN […]