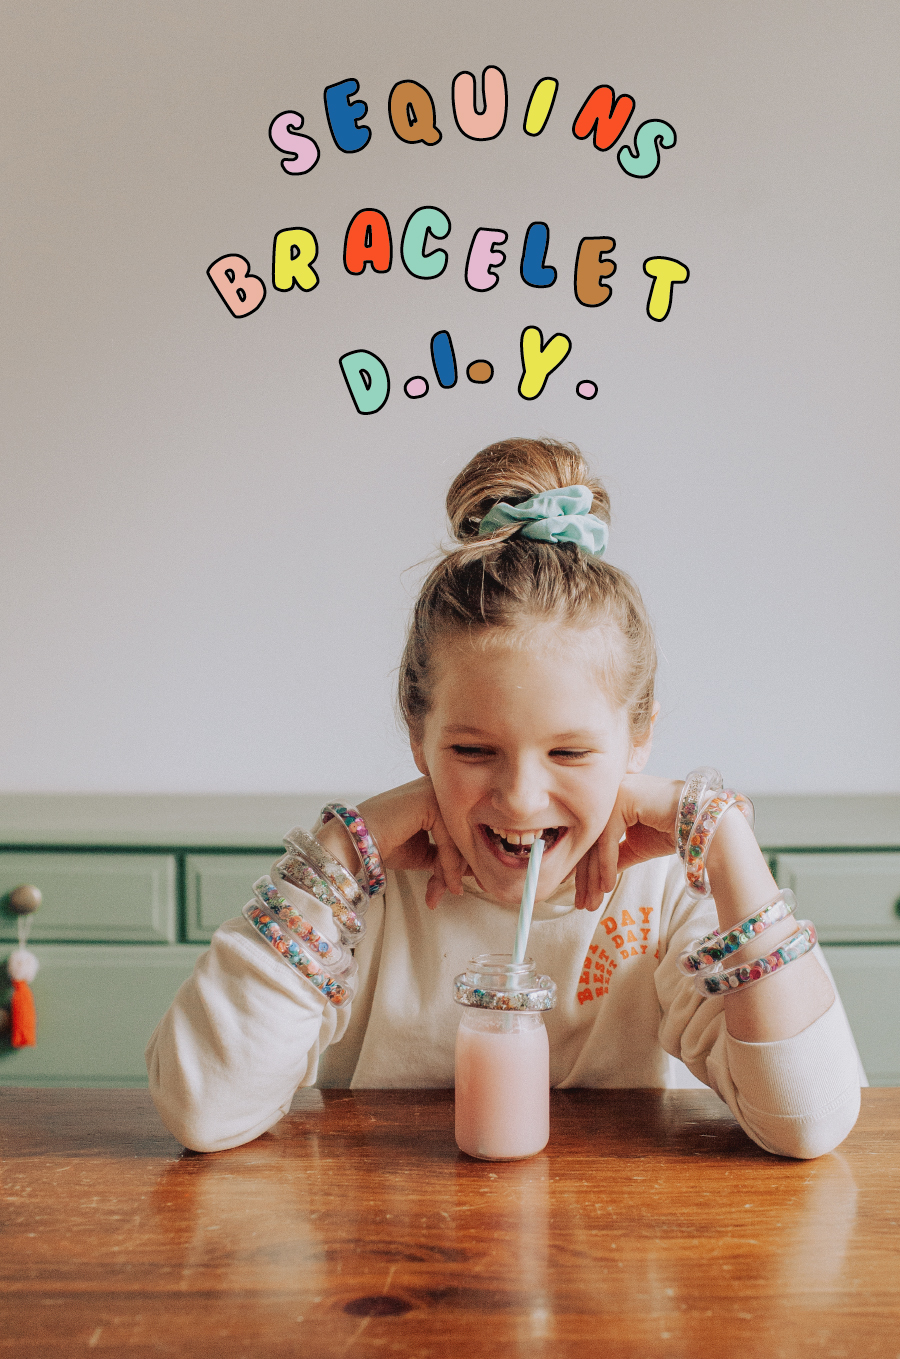
I am so excited to share this kid friendly craft with you that I literally couldn’t wait until Wednesday (when it was scheduled) to post. A few reasons why this bracelet diy is our jam and why we think you’ll love it as much as we do.
- it’s hard to mess up!
- it gives the kids something to concentrate on while challenging their fine motor skills.
- virtually all the mess can be vacuumed up!
- Poppy calls these bracelets, “hula hoops for your wrist” and I don’t think a better description exists!
Have we convinced you? Scroll down for the supply list and how to!
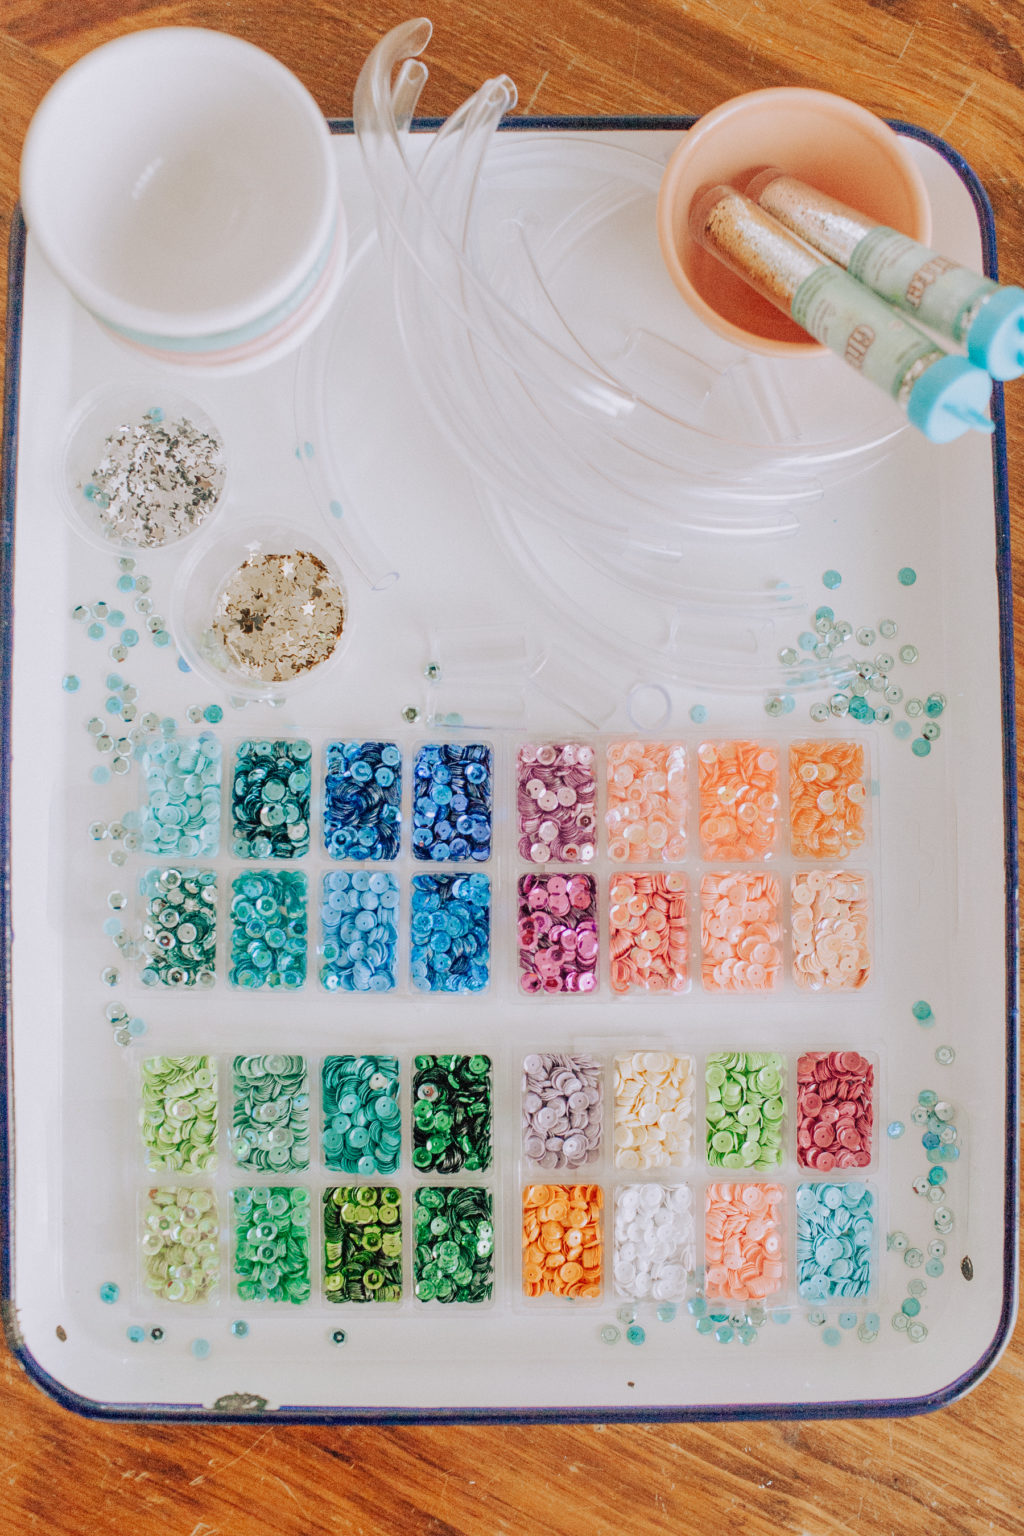
You’ll Need:
- *any combination of sequins, confetti, glitter, mini beads, etc. (we used these sequins, star confetti (similar) + glitter — a little glitter goes a long way!)
- **3/8 inch inner diameter vinyl tubing, you’ll need about 8 to 10 inches per bracelet (from the hardware store — look in the plumbing section)
- **1/2 inch inner diameter vinyl tubing, you only need an inch or so of this per bracelet
- hot glue gun (and glue :)
- knife to cut the tubing — I just used a kitchen knife!
- optional: small bowls to make your sequins mix in
- also optional: trays to catch sequins that falls
*I have another little craft planned involving sequins so stock up!
**Make sure the smaller size of tubing fits snug, inside the bigger tubing!
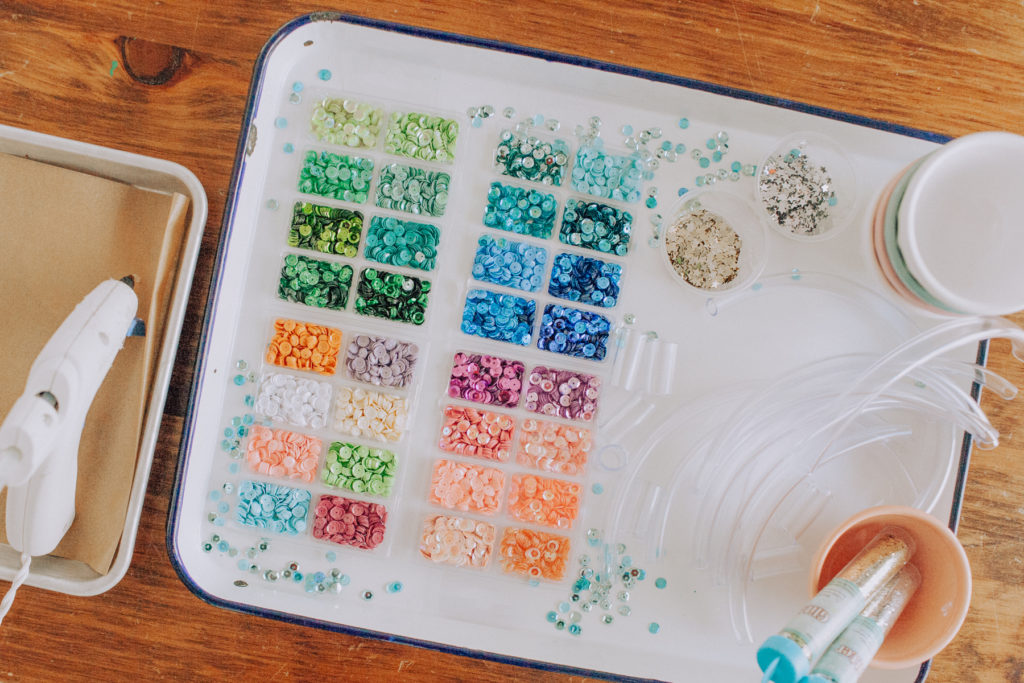
Here’s How:
- Prep a craft area and lay out supplies. Cut 3/8 inch tubing to size. For Poppy I cut tubes to about 8 inches, Tilly about 9 and myself 10. Cut 1/2 inch tubing to size. This will be used to hold the ends of your bracelet together. I made mine about 1-1/4 inch.
- Fill one end of your bracelet tube with hot glue to stop the sequins from falling out.
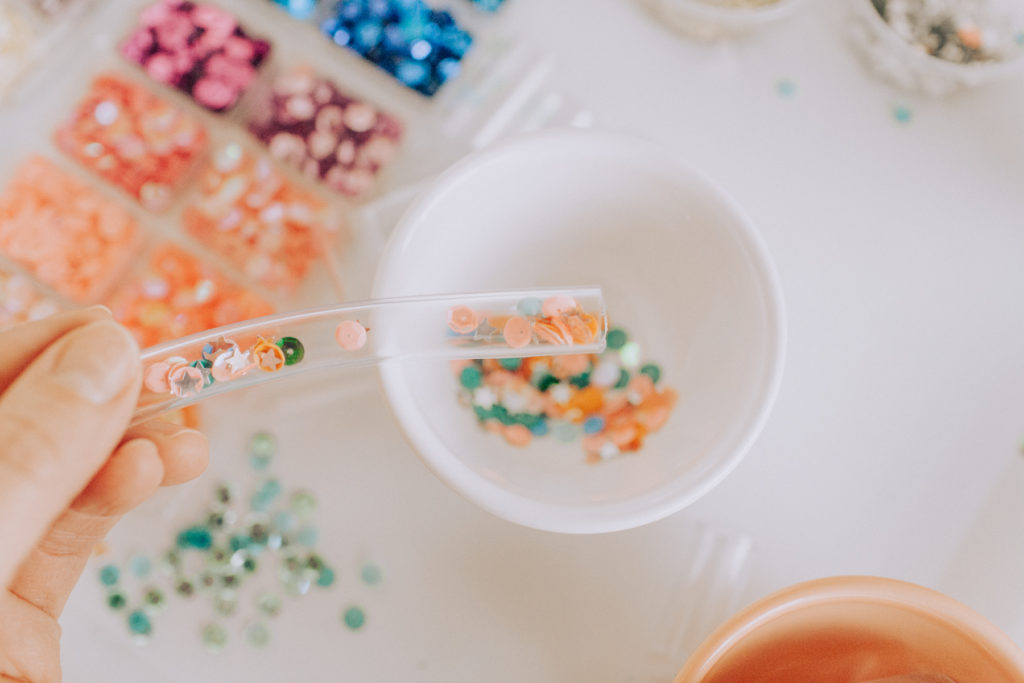
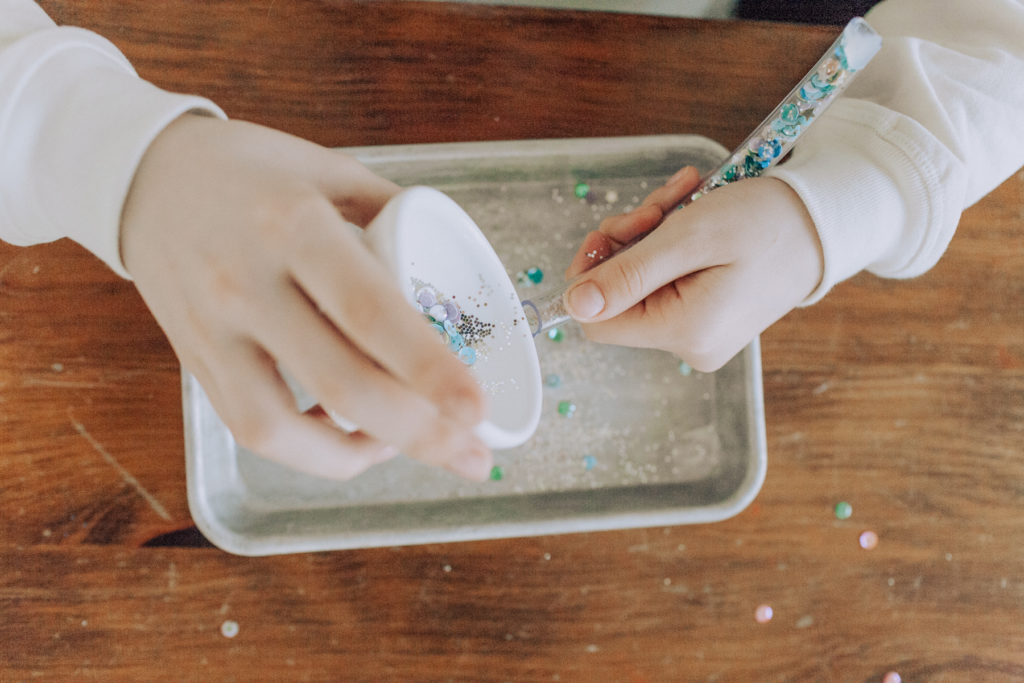
- While the glue dries, have the kids make their mix of sequins, glitter, confetti, etc. in a small bowl.
- Once glue has dried, start filling your bracelets!
- When you’re finished, fill the open end with hot glue and let dry.
- Use the 1/2 inch tubing to join your bracelet ends together and you’re done!




The girl’s worked at different ways to fill their tubes so the trays really helped catch the mess! We use these trays for just about everything… meals, snacks, outdoor eating, crafts and activities. Very handy and just a couple dollars each.


Ahhhhh! They are so cute! Would make a fun activity for St. Patrick’s Day coming up or a birthday party or mother’s day event!

Plus they’re super fun to stack :)
Let me know what you think or if you have any questions, in the comments!
xo, Rae
PS — For anyone that’s curious, Tilly’s cute hoodie from here!

I love these… you make things so fun!
Can’t wait to see them :)
<3
CUUTE. I LOVE these!!
same, same! xo
Love these! So fun! Saving for a future party idea :)
These are very cute; planning to do them for our daughter’s 7th birthday, but in the “You’ll Need” section you mention 3/5″ tubing, in the “Here’s How” you mention 3/8″. Which one is correct?
Heyyyy! Thank you for letting me know! It’s kind of confusing because the tubing has an outer diameter and an inner diameter. So the larger tube has an inner diameter of 1/2″ and the smaller tube has an inner diameter of 3/8″ — most important is that the smaller tube fits snug inside the larger tube, which was easier to figure out in person at the hardware store… I hope that helps! I’ll fix the instruction on the site. xo, Rae