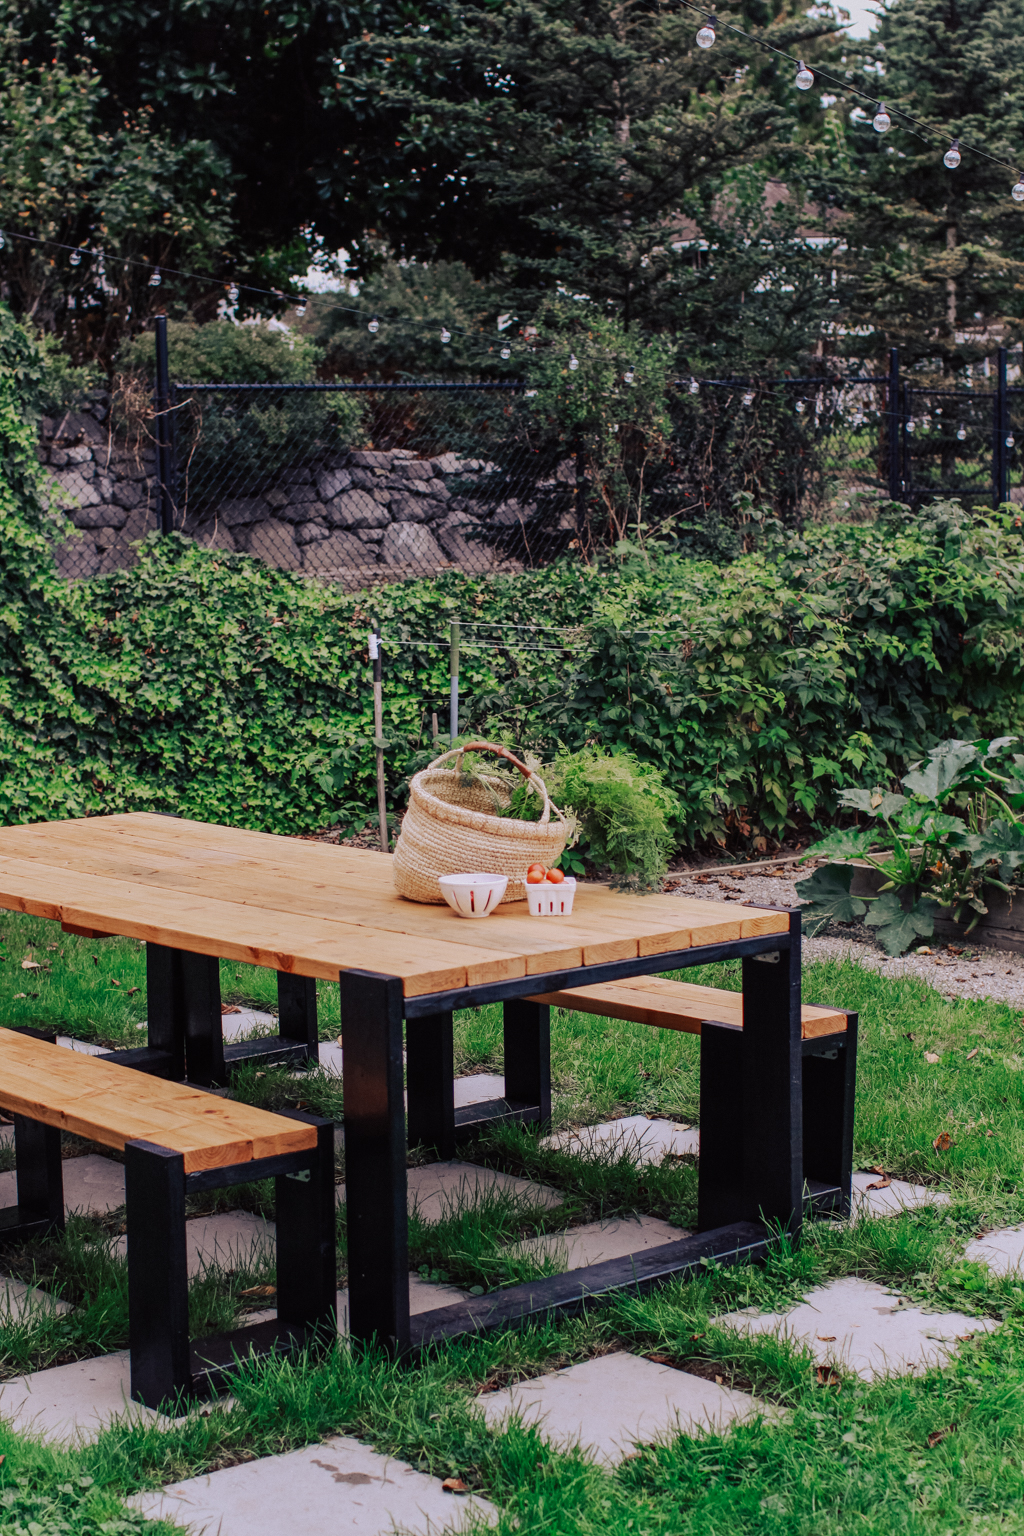
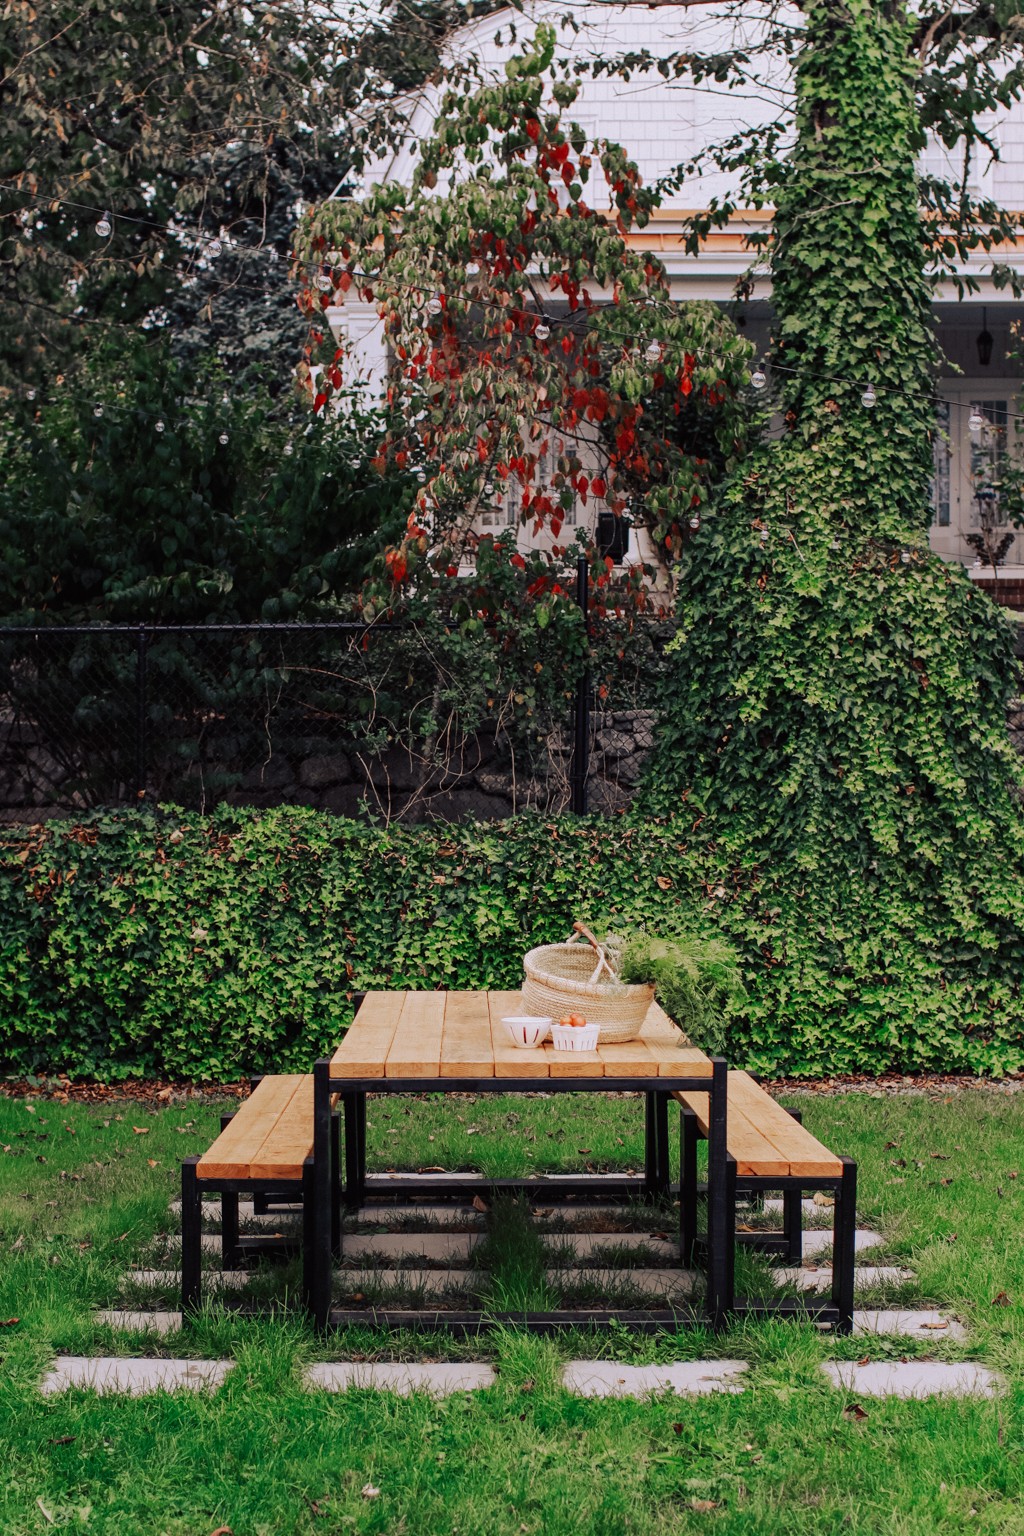
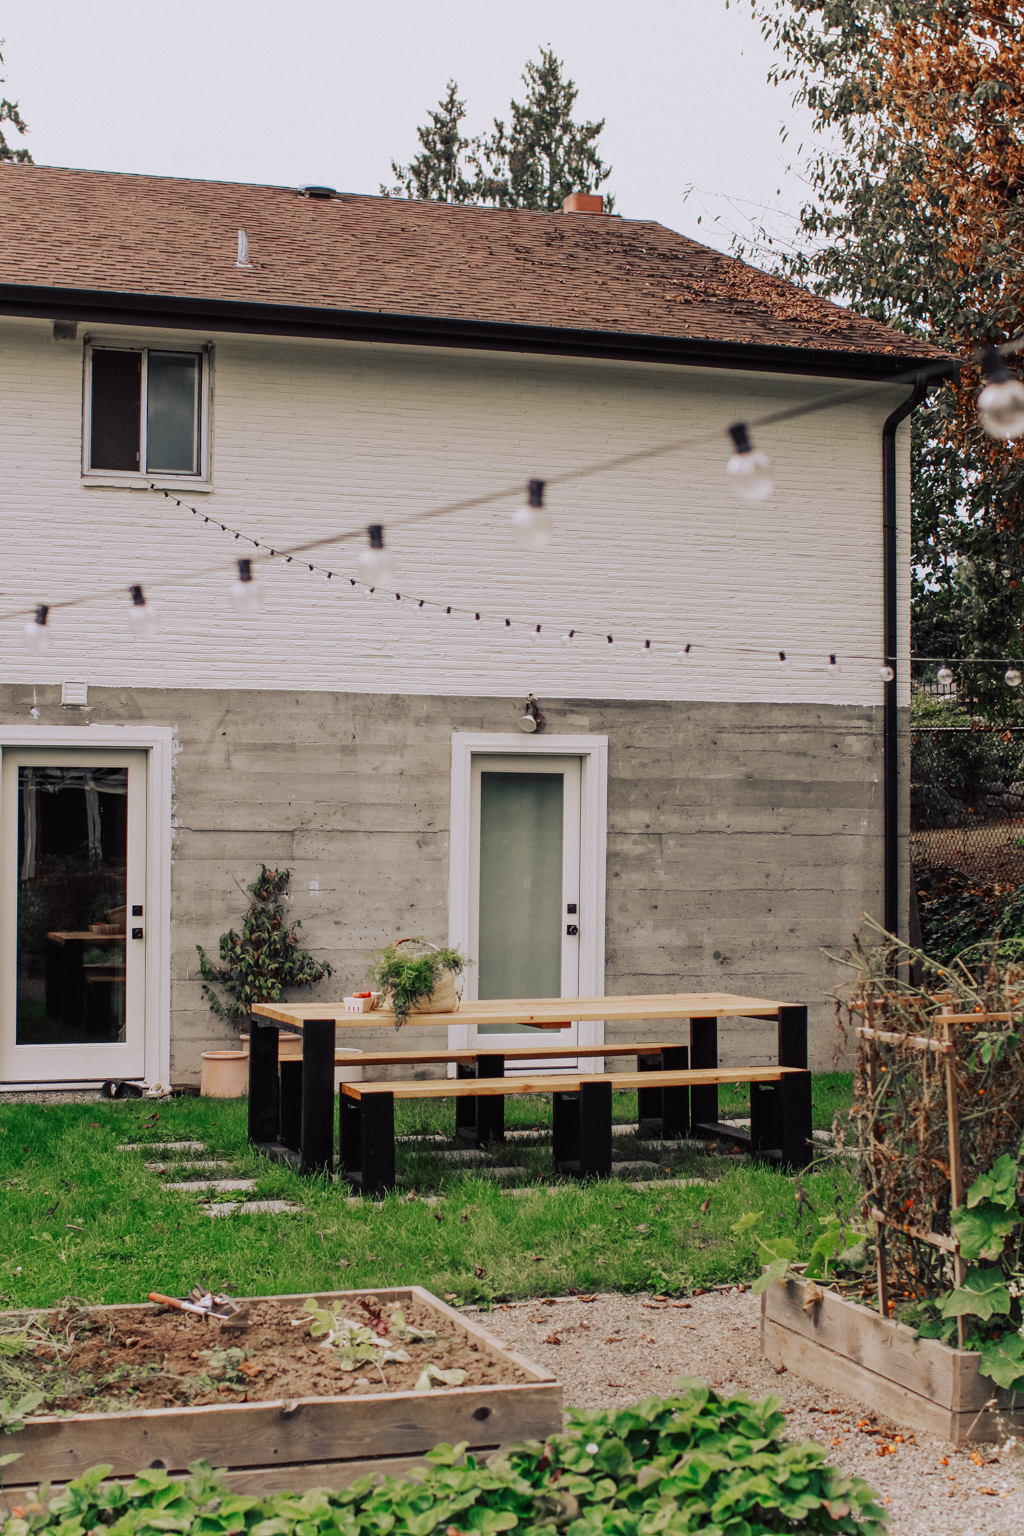
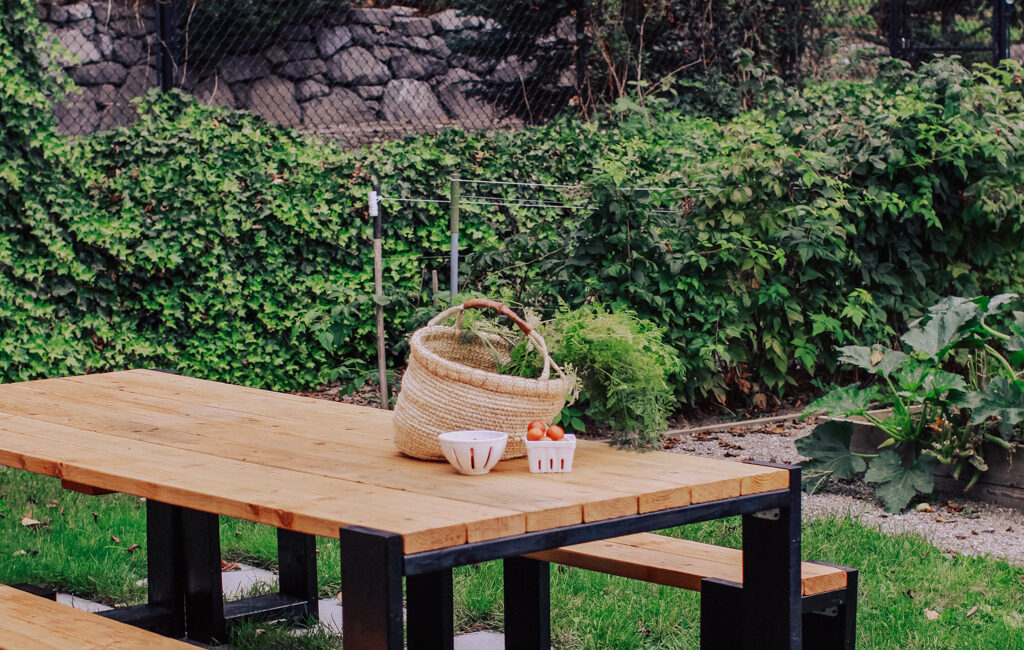
A few weeks ago, Johan and I (but mostly Johan) built this sturdy picnic table and then shared a reel, but wanted a place for people to reference instructions and tips to DIY. Here’s the breakdown and resources.
DETAILS:
- DESIGN: based off of this reel and inspired by this set by Article.
- COST & TIME: $200 in supplies + approx. 10 hours of work (with kid help and interruptions).
- EQUIPMENT: compound miter saw (or bring measurements to hardware store to cut), drill, drop cloth, paint brushes, power sander, measuring tape
- MATERIALS: metal brackets ( 3 – 1/4 inches – galvanized angle gusset -$1.28 each, 32 total), screws (150 2-1/2 inch & 200 1-1/4 inch), black wood stain, clear wood sealant in a satin finish, 2×6’s (8 footers in Hem fir lumber – 20 @ $6.42 each)
- FOR TABLE (specs – 30” tall, 8’ long, 3.5’ wide): 8 foot by 3 1/2 for surface. 7 – 8 footers (2×6) for the top. 4 – 8 footers (2×6) for the legs. 4 brackets for each end. 8 total.
- FOR EACH BENCH (specs – 17” tall, 7’ long, 11” wide): You’ll want 3 sets of legs for each bench. 1 foot by 8 foot surface. 2 – 8 footers for top. 2 – 8 footers (2×6) for the legs. 12 brackets for each bench – 4 for the each end and 4 for the middle.
- *ASSEMBLY TIP: build legs first then lay boards on top and secure!
HOW TO BUILD THE LEGS
- Decide on the height of your table. Cut 4 pieces to that exact length.
- Decide on the width of your table. Cut 4 pieces to that exact Length. We used 7 with very little gaps (Hint: Line up the number of 2×6’s you want to make your width. Adjust the spacing you want. Then measure that distance.)
- Build the Leg braces. Take a piece of 2×6 and place it in between the two legs. Then place the board you cut for your width on top of the 2×6. Use the brackets to secure the cross board. The 2×6 below that will account for the correct spacing for the surface boards to make the table flush.
- Secure the 2nd cross board about 2 inches from the end of the legs.
It’s a bit challenging to explain without full video, but hopefully between the reels, pics, and info above, it all makes sense! Let us know if you have questions!
ily, Rae
OTHER POSTS YOU MIGHT LIKE: MUSIC YOU CAN COOK, DANCE, SING, AND EAT TO, HOW TO ORGANIZE PUZZLES & GAMES, KITCHEN NOOK REFRESH + AN OVERSIZED CORK BOARD DIY (this cork board is now the chalkboard in our dining room)
Leave a Reply