We took advantage of the long weekend and checked off a couple small house projects and by “we” I mean Johan. My contribution came mostly in the form of ideas, shopping and a borderline annoying amount of moral support. Since words of affirmation is Johan’s love language and acts of service is mine, this arrangement totally works for us. HAHAH! Here’s a breakdown of what we refreshed in our little kitchen nook area… which is not really a nook per say, but is way too small to function as an eating area for our fam. Plus I really like the word “nook”.
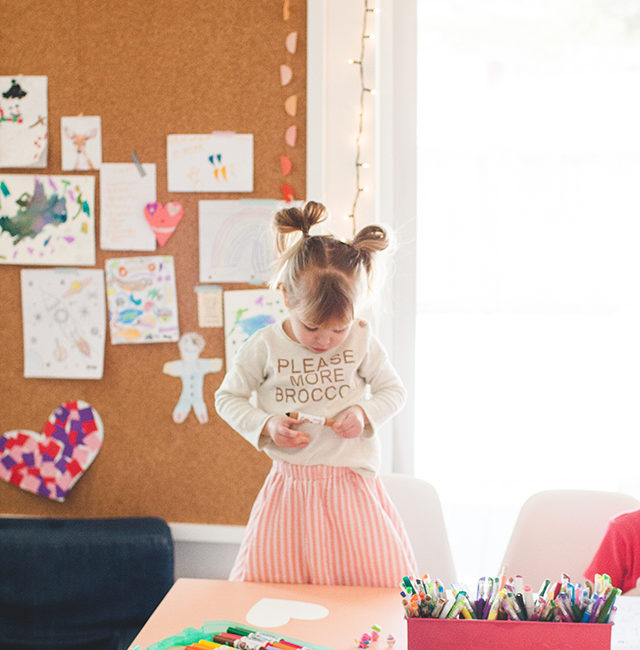
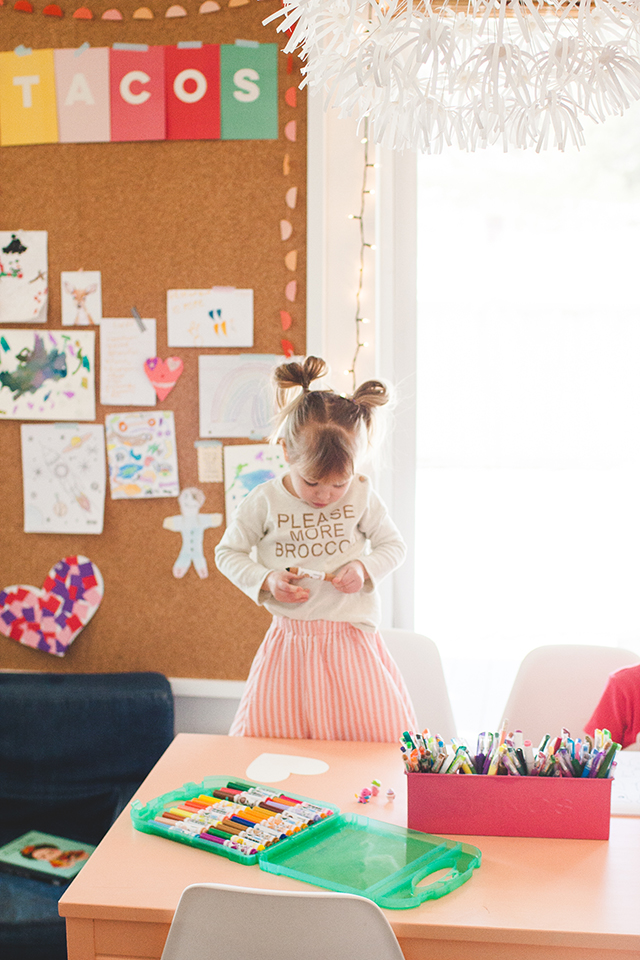
Project No.1: priming & painting the IKEA table we’ve owned since our days as newlyweds living in a tiny basement apartment. Since it’s mostly used for crafting, snacking, and homework-ing, it was in need of some TLC. Four coats of primer and three coats of paint later and it looks better than new! The color we used is “peach medley” in eggshell.
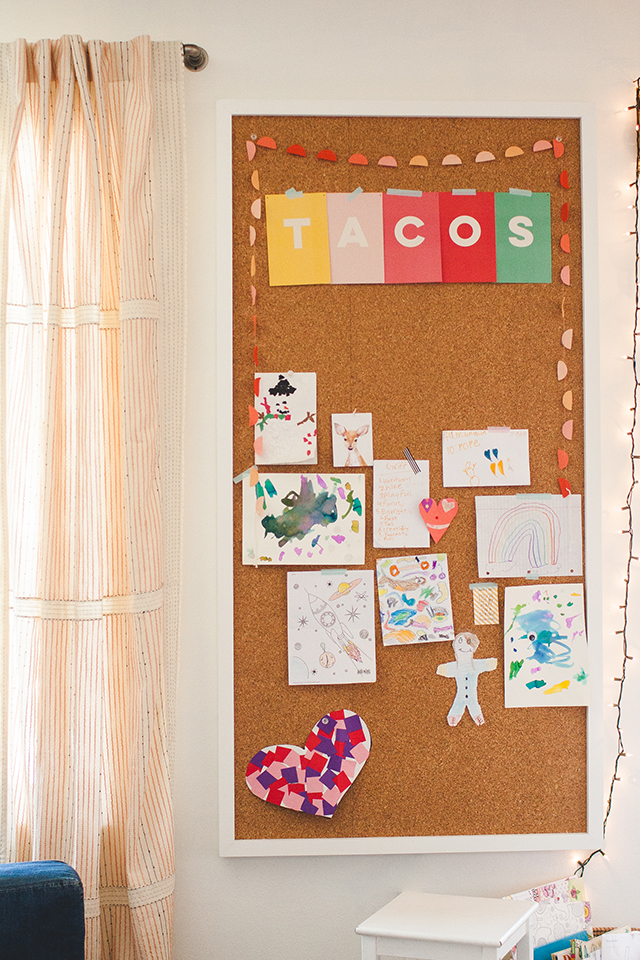
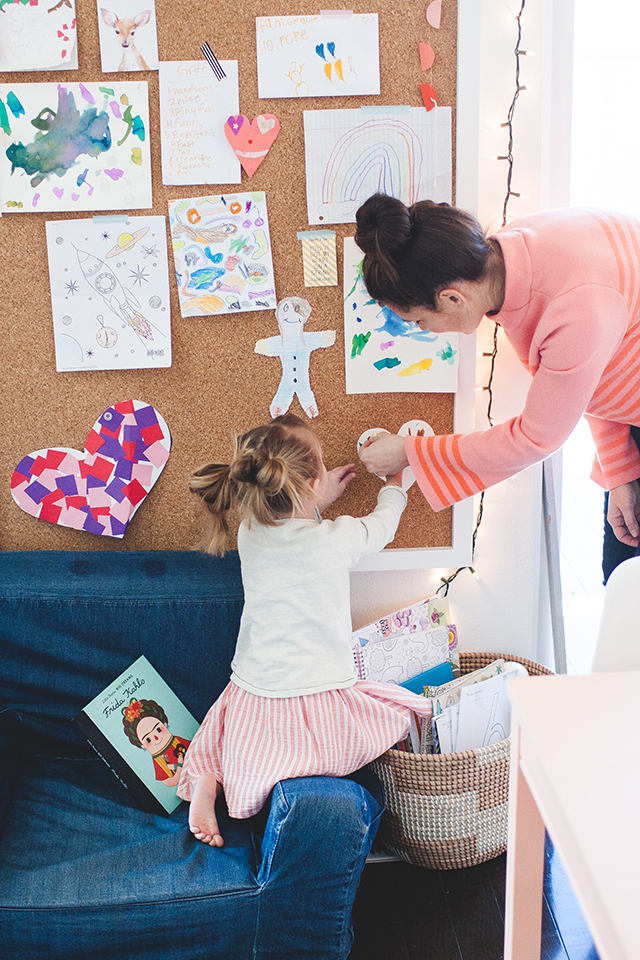
Project No.2: an oversized (3×6 foot) cork board for all the kids’ art, seasonal projects and instax pics. I was a little hesitant with this DIY, but it turned out better than I imagined… Again, aside from I had very little to do with the finished project (LOL).
HERE’S WHAT WE USED:
- 1×2 strips of pine for the frame cut into 8 pieces (2 for each side)
- this roll of cork board (FYI, it arrived cracked but we were able to piece it together pretty easily)
- thin sheet (3/8-inch) particle board to mount the cork to
- a wall mount bracket to hang board (ours was 18 inches and can also be found at the hardware store)
- a nail gun and nails (brad nailer, to be technical, that works well on molding, etc. and is very novice handy-person friendly)
- paint of your choice! (we used the “simply white” by Benjamin Moore that we had on hand)
- putty or framers mud to fill nail holes in the front of frame
- can of spray adhesive (which worked really well but glue of choice)
- chop-saw if you want to cut frame wood at home…
HOW WE DID IT:
We wrote out the dimensions and supply list before going to home depot and asked an employee to cut the particle board to size. You could also ask them to cut frame pieces to size but Johan cut the frame at home and put it together similar to this tutorial, only the edges on our frame are flush. Next he painted the frame. While that dried he placed the particle board on top of the cork and used an ex-acto knife to trim to size. After letting it sit overnight to flatten the cork, he used spray adhesive to mount cork to particle board. Next he placed cork board inside the frame and secured in place using a brad nailer through the front of the frame, all around the edges — approx. 1 in each corner and 3 or 4 along the sides. Putty was used to hide the nails on the front side of the frame and then touched up with paint. He finished by adding the wall mount to the back side and the wall — making sure it was level! — and that’s it! Haha!
Lots of steps but Johan assured me it’s something I could tackle without him if I wanted to. Which says a lot! Let me know if I missed anything!
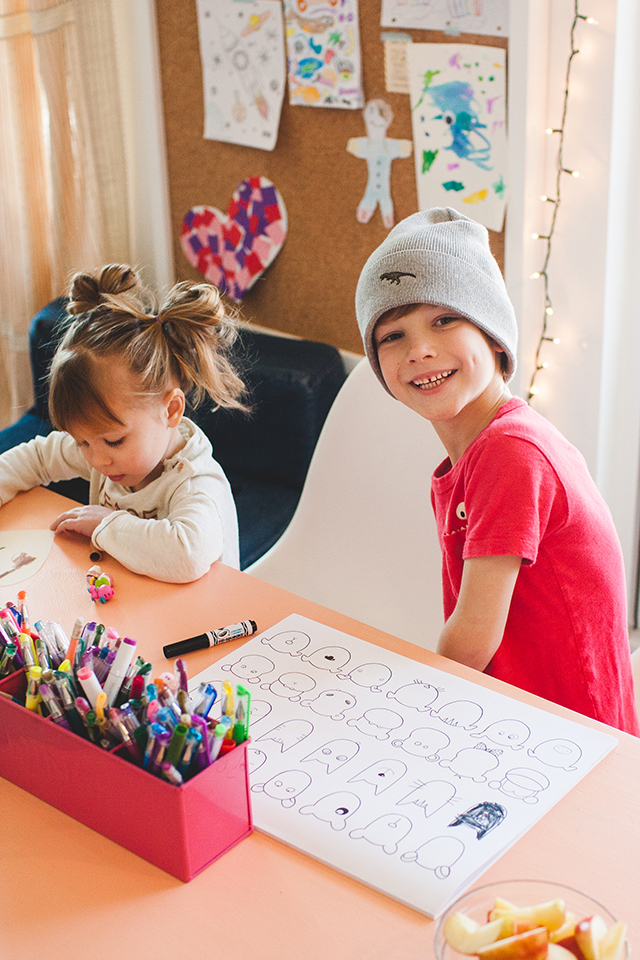
I wonder if that single dimple and tooth gap will ever not make me melt… I’m guessing not. (His little activity notepad is from IKEA. Couldn’t find it online or I would link!)
Completely in love with this rug by Lorena Canals. It’s machine WASHABLE, eco-friendly, and the perfect mix of color and neutrals!
I asked the kids what word they thought would be fun to put on the bulletin board and Poppy instantly shouted out, “TACOS!!!” The rest of the kids laughed and the moment was so good I couldn’t help but make her taco loving suggestion come true :)
Just one problem-o, every time I look at it I want to eat tacos.
rug / curtains (found for 50% at the anthro store) / table color / basket of coloring books / white chairs / “things” pen bin / denim chair is old from pottery barn kids (similar)
Let me know if I missed anything! Also, I was thinking I had before pics for reference in an old blog post but the closest thing I found was this post from Christmas break. Hopefully it gives a good idea of what it used to look like!
xo, Rae


So proud of you Rae and Johan!
Love your creative DIY talents!
Love to the FriisFam!!
dad/papa
thanks daddddd! xoxo
Everything looks so bright and cheery! Love that the kids personalized the space!
thanks nancy, you’re so sweet! xo
Beautiful! Fun to have the kids help since its a space they use. Silly question but I love the how to draw coloring sheets your son was using. Any chance you can share what it it is? My daughter loves hippos!
I meant to include that! It’s from ikea and is full of fun activities! Thanks for asking and reminding me… I’ll add a link. Xo
Love your spaces! Its always to light, bright, and fun!
You’re sweet! Thanks Courtney! xoxo