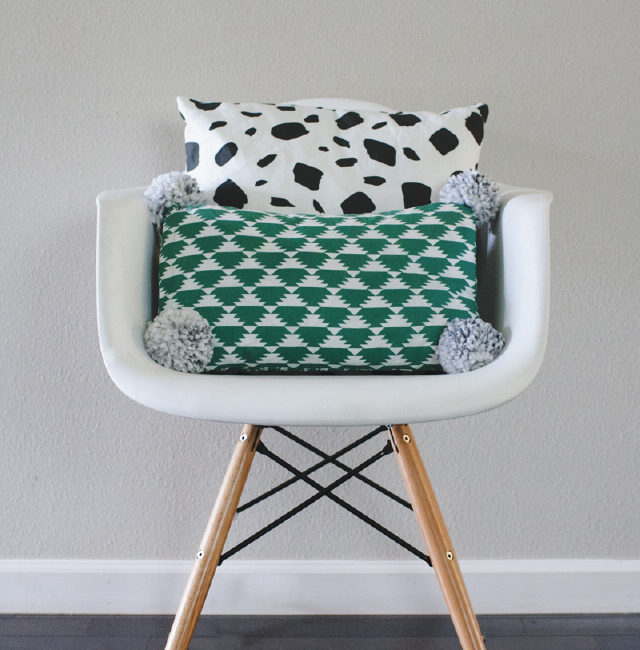
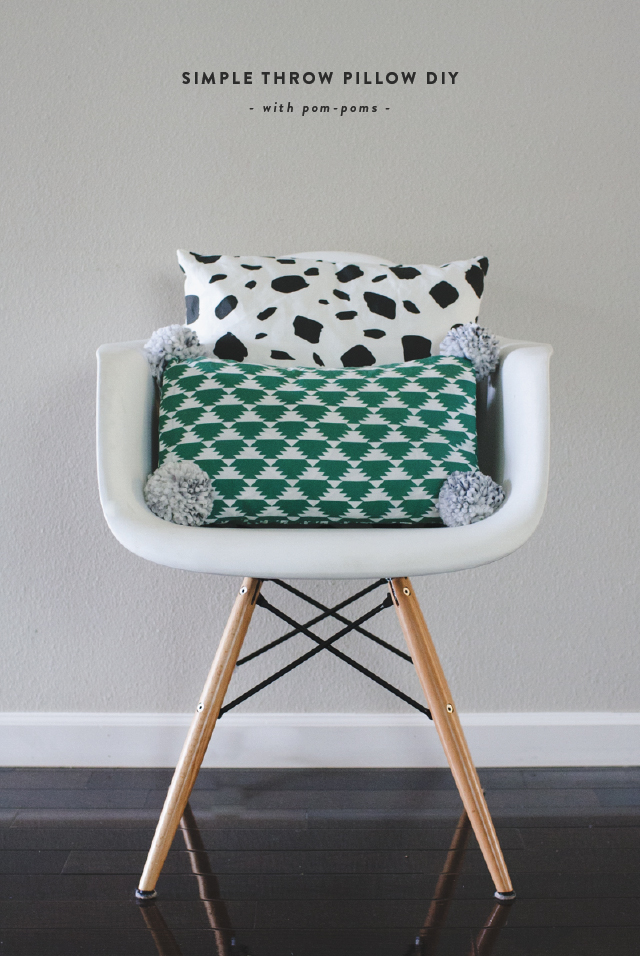
//Black brush stroke and teal tribal fabric from my Spoonflower shop//
I’m sure there are 100’s of these tutorials floating around the blogosphere, but it’s also one of those projects that saves money, can be done over and over again, get’s easier every time and always looks cute (even if the seams aren’t perfect) so figured it was worth sharing. Plus, we’ve probably all seen a yard of fabric or old curtain, shirt, sweater or blanket and thought, “Gosh that would make a cute pillow!” Amiright? Here is an easy way to make that thought happen…
SIMPLE THROW PILLOW (with an envelope close back)
You’ll Need –
- Pillow insert (ikea or amazon is a great place to find these)
- 1-yard of heavy fabric or less of two different fabrics (home dec weight or cotton canvas)
- Fabric scissors
- Sewing machine
- Thread and bobbin (color isn’t as important. You’ll only see a line of it on the back of the pillow)
- Small piece of paper and pencil
- Sewing pins
- Iron (helpful but not necessary)
- Yarn for pom-poms (optional)

Here’s How –
- Measure your pillow insert. Add 1-inch to the height and width and write it down. Cut fabric to the size you just wrote. This will be the front of your pillow.
- For the back of the pillow. Using the dimensions you wrote down earlier, divide the height in half and then add 3 or 4-inches. Using the same width as before, write down the second set of dimensions and cut two pieces of fabric to that size. (Example: if you have a 19-inch pillow form you’ll want to cut one 20×20-inch piece for the front and two 20×24-inch pieces for the back.). Next, fold the width of both back pieces towards the wrong side of fabric about a half inch. Run a warm iron over the top to hold in place. Fold the edge another half inch and iron in place. (If you like skipping steps, the second fold isn’t necessary.) Stitch along the folded edge using 3/8-inch seam allowance and repeat with the second back piece.
- Lay your front piece patterned side up. Lay your back pieces, overlapping and patterned side down on top of the front piece. Pin in place (I usually pin each corner and where the back pieces overlap).
- Stitch all four sides of the pillow with a 1/2-inch seam.
- Turn right side out and stuff with your insert
- To add pom-poms, use a seam ripper to make small holes in the corners of your pillow. Thread long pieces of yarn through the holes and hand-sew into place
If your pillow doesn’t come out perfect, don’t fret. Layer it with another pillow or two and I bet you won’t even notice! Or add to a kid’s room. Quirky things have away of fitting right in, in little kid spaces.
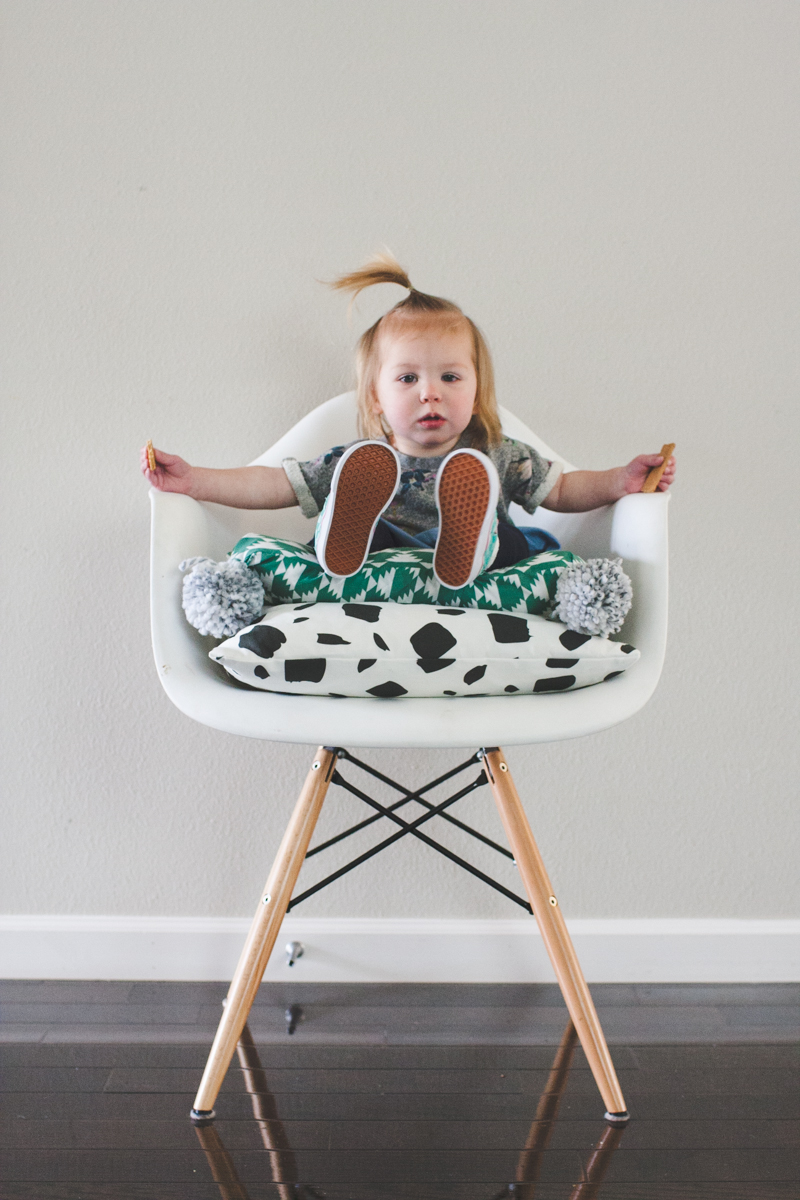
Of course this post wouldn’t be complete without Poppy on a pile of pillows being a ham…
When it comes to pillows, do you like to buy or DIY?
XO, Rae
PS – if buying is more your style you might enjoy this post from yesterday :)


Leave a Reply