the other morning, while putting on my makeup, i turned around to find all 4 of my kids huddled around, asking me questions, getting into my drawers, knocking things over and hanging on my legs. now, to do this story justice i also have to add that my bathroom is the size of a small closet. soooo i was just a little flattered (but a lot claustrophobic) that in a house full of open rooms and tons of toys, they were willing to cram themselves into a tiny space just to hangout with me.
sometimes my kids make me feel so cool….
… other times i would do (almost) anything for a few (but really 30) minutes to complete a task on my own, without a little helper – and because i’m hoping i’m not the only one out there who has those moments, i’m going to start a new monthly series all about simple crafts kids can do by themselves. however there is always the chance that the project will be so much fun you can’t help but get sucked in!
one thing i highly suggest having for all of these projects is one tray designated to hold supplies. it’s the easiest way i’ve found to keep kids craft time tame and in one place and makes cleanup (not to be confused with organizing) easy for the kids. click here to read more about my love affair with trays. i’m slightly obsessed.
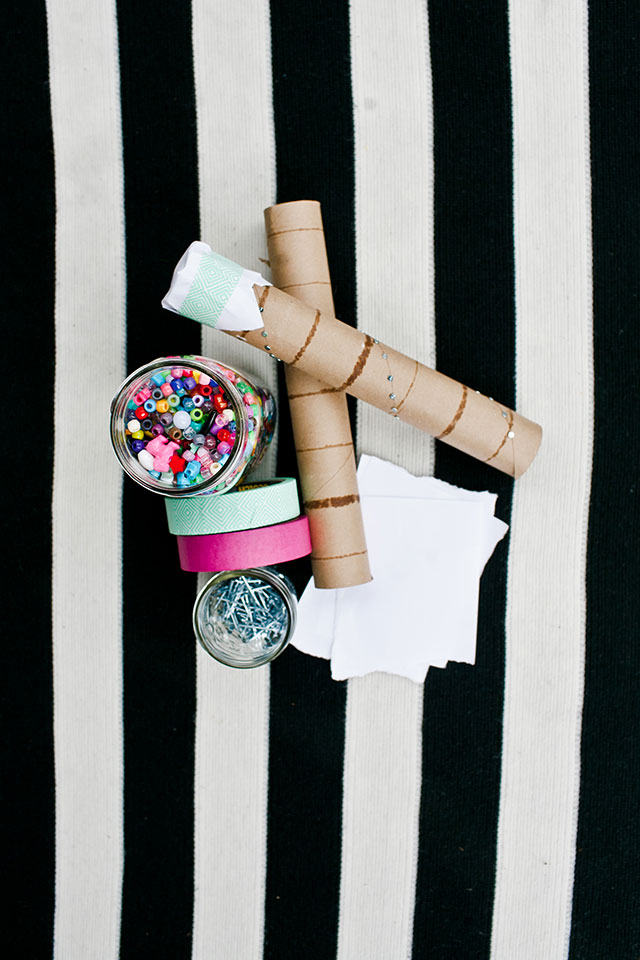
since it’s august and i’m guessing most people would welcome a little rain to break up the summer heat, i thought a rain stick would be the perfect project for the kids. here’s what your tray will need.
(***NOTE: please use your own discretion about what is safe and age appropriate for your kids to craft with, especially without your full supervision***)
small nails (hardware store), masking tape (I bought the colored rolls from target), printer paper cut into 4ths, cardboard rolls (think paper towel, wrapping paper, or t.p.), and plastic beads (craft store – dried beans would work too!)
to make the rain sticks, cover one end of the tube with paper and tape it in place. then have the kids poke nails into the seam around their cardboard tube. next they can fill it ½ to ¾ of the way up with beads. cover the open end with paper and tape so nothing falls out. lastly you’ll want the kids to cover the tube and nails by wrapping it in tape or drawing a picture to cover the tube and taping it in place.
if you still need a little more time, have the kids make one for you too (or the dog, neighbor, etc. – whatever keeps em’ busy!) and then head outside for a little rain making dance party!
we love seeing how you use our projects and ideas so if you would like to join a hashtag party, use #armommykids when sharing images on instagram or twitter. of course you can always tag us @raefriis on insta or @armommy_llc on twitter, too!
how do you keep your child(ren) occupied while you get ready in the morning, respond to emails, do some pinning, make dinner, etc….?!
xo . rae
Want to receive goodies like this in your inbox? Sign up below…. (it’s free).


Leave a Reply