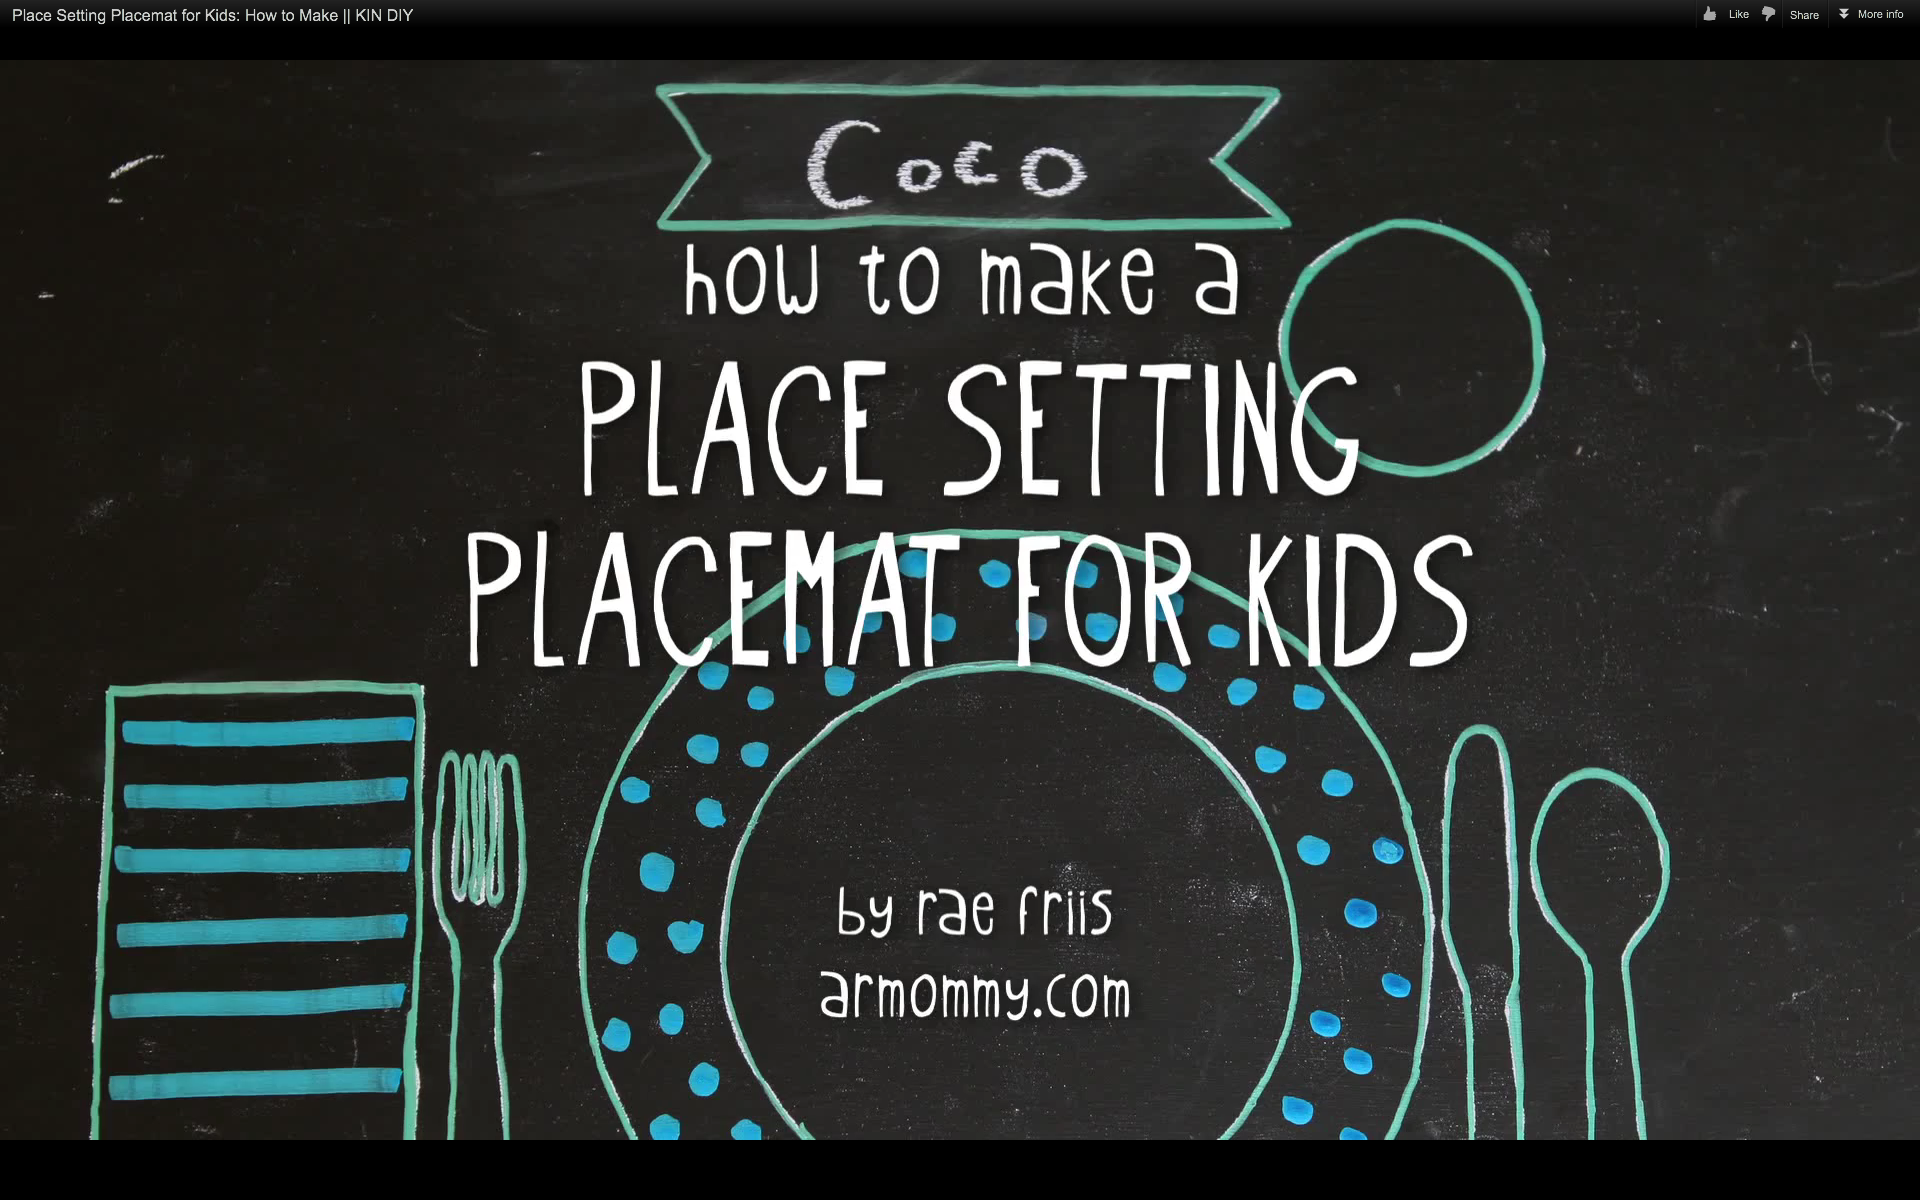
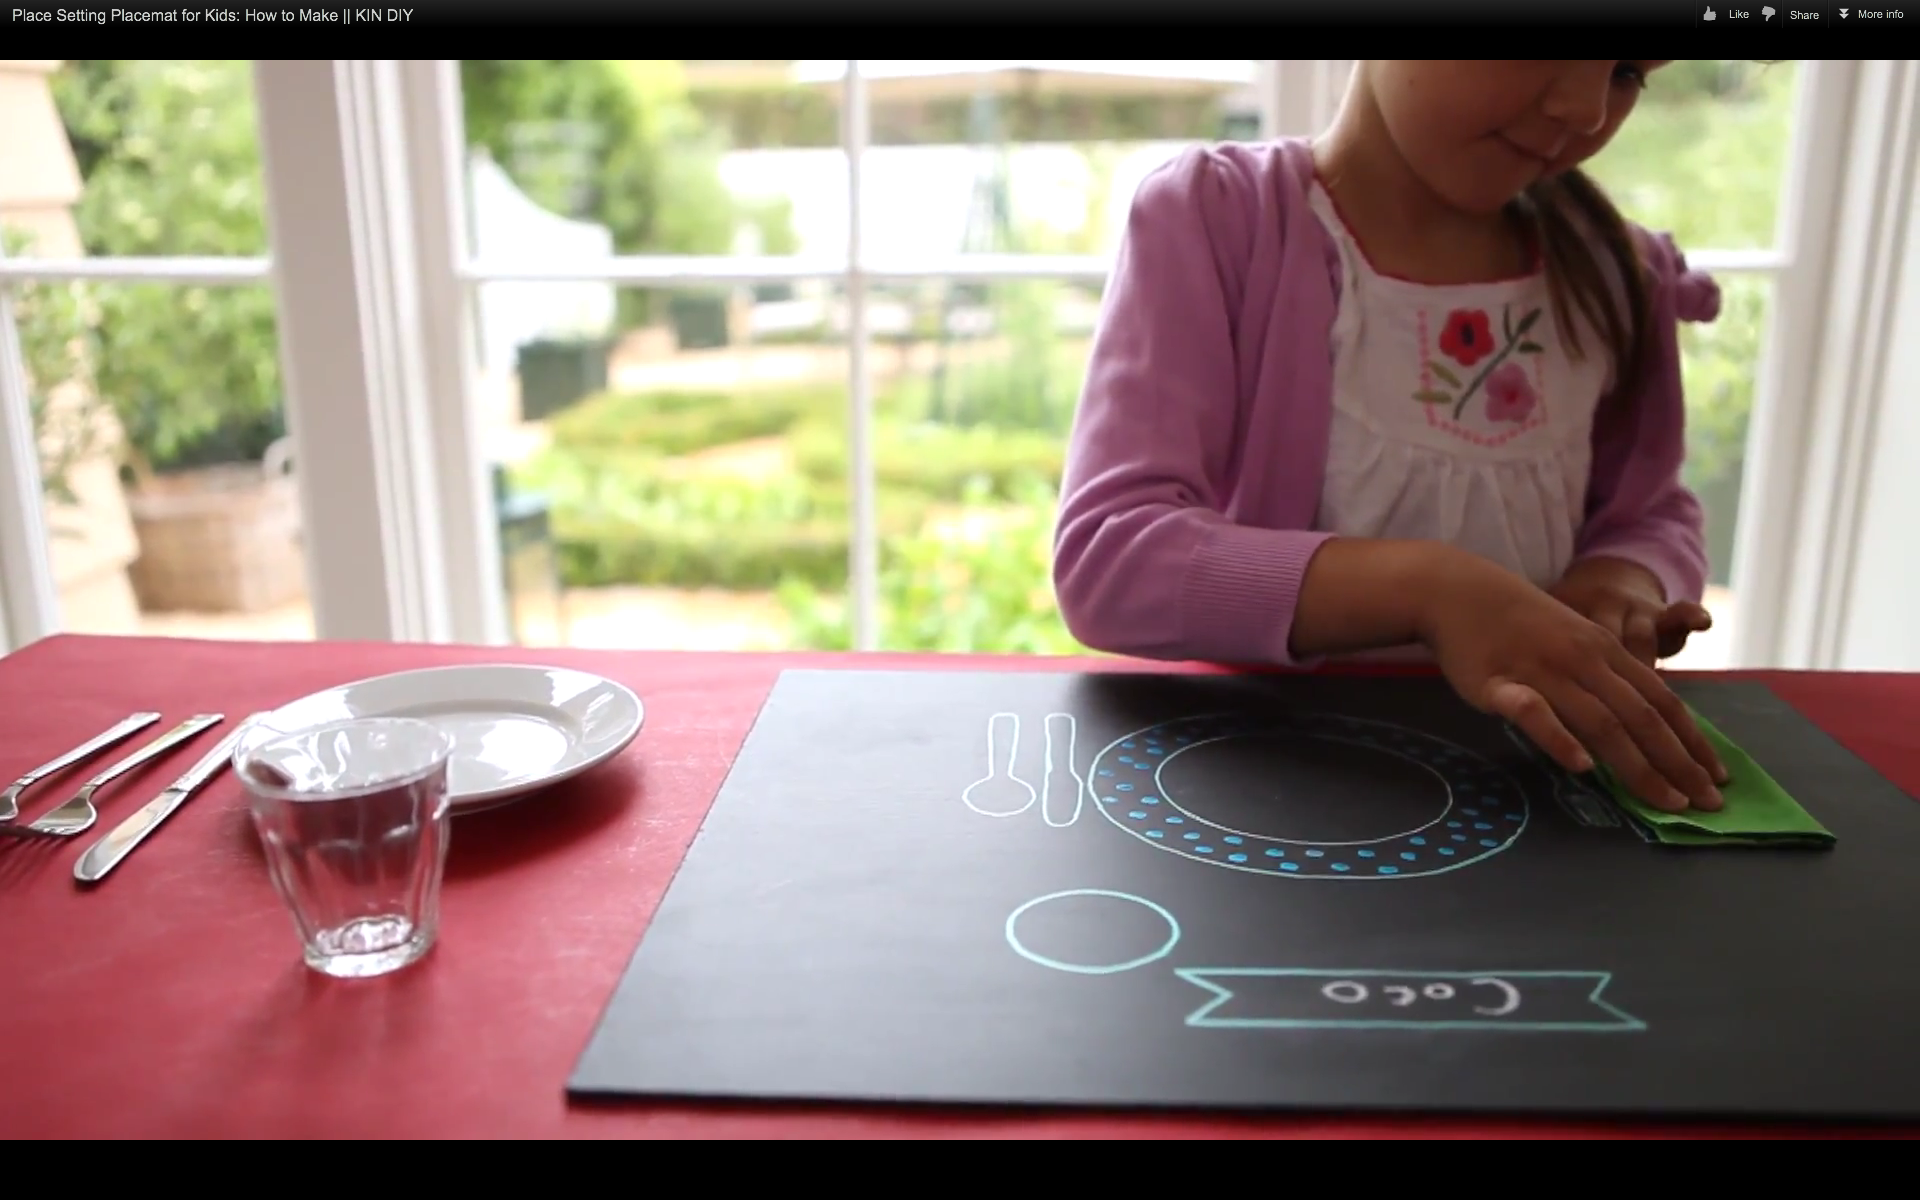
A charming take on our beloved laminated place mats (I miss them, don’t you?). And so fun to make!
SUPPLIES:
1. chalkboard paint 2. paintbrush 3. transfer paper 4. paint pens 5. pencil 6. 11×14 hardboard panel (found here) 7. printable template (click to download) 8. chalk (for when you are done) 9. a couple pieces of tape
DIRECTIONS:
1. Paint your panel using chalkboard paint. I used black, but the old school green would look cool too. The panel soaks up the paint so you may need a few layers.
2. In the meantime, print out the place setting template (click to download). Once the paint has dried, cut a sheet of transfer paper to fit over the panel and tape in place.
3. Starting with the plate, lay the printed template (don’t cut it out) facing up on top of the transfer paper. Line it up where you want it and trace.
4. Repeat step 3 for the rest of the place setting elements.
5. When you are done tracing, peel the transfer paper from the panel and throw away. You should see the place setting outlined on your painted panel now. Using paint pens, outline (again!) the lines left by the transfer paper.
6. Finally, embellish or doodle as you wish or leave everything blank for the place mats owner!
Hope this tutorial adds a little more fun and function to dinnertime!
Is summer flying by for you too? Have any tips for keeping the kids busy during dinnertime prep? We would love to hear in the comments below.
xo . rae
ps – don’t forget to pin for safe keeping!


Leave a Reply