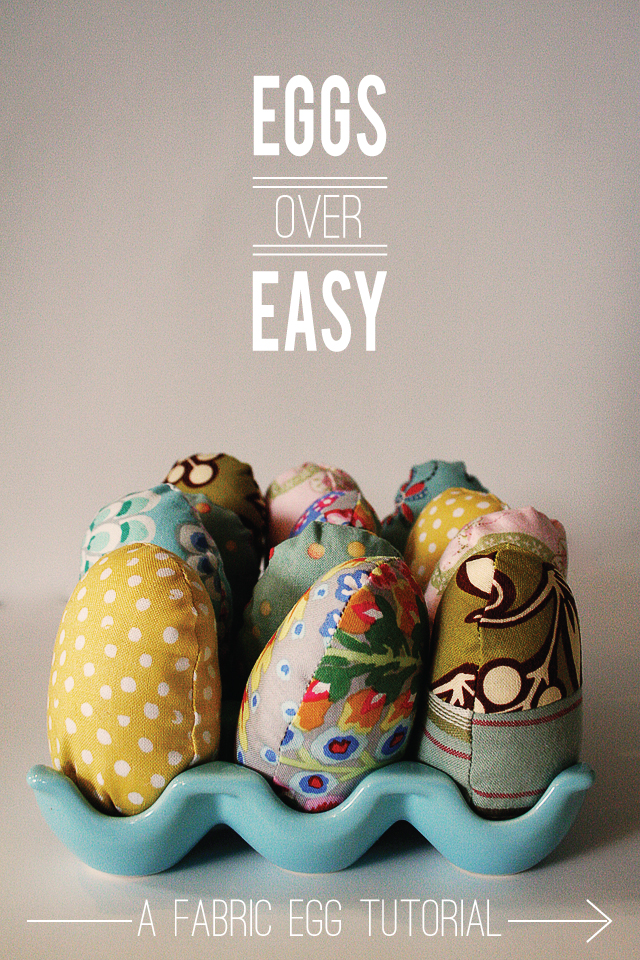
my mom (aren’t they the best?) put together this clever little tutorial just in time for easter. well, she put it together with plenty of time and i’m just now posting it in time. aren’t they cute? and they are a quick project to complete!

for this project, you will need:
the printable pattern you can find here, fabric scissors, iron, fiber fill (stuffing), needle and thread, sewing machine optional, fabric of your choice (each egg uses 9 x 6.5″ piece or you can get about 5 from a fat quarter – 18 x 22).

cut out your pattern. there are two included on your printable. for this tutorial we are going to use the one pictured above. trace 2 of the patterns on the wrong side of your fabric.

cut them out.

iron the bottom tab up. 
place pieces of fabric right sides together.
sew around the pattern using a 1/4″ seam, back-stitching at each end. leave the bottom open.
turn right side out and stuff with fiber fill. this is a great job for the kids in your life.
once your egg is stuffed full, thread your needle, tie a knot at the end of the thread and make a running stitch around the open end of your egg. pull the thread taught and tie, closing the opening.

now you have an adorable egg! repeat the steps to make a collection. you can also tie a thread through the top of the eggs so you can hang them. my little ones have had a fun time sorting the easter eggs or hiding them throughout the house for someone else to go find.

to make the mis-matched egg, trace and cut the pattern and fabric as described. then, right sides together, sew the top fabric to the bottom fabric using a 1/4″ seam. then follow the remaining steps, starting with “iron the bottom tab up”…. outlined above.
as always, let us know if you have any questions!
xo . jane + rae
ps – don’t forget to tweet, pin or share what you like!
[…] Easter tags, stickers and bunny ear toppers / Fabric egg template and tutorial (so cute) / mini makers bunny masks / Simple eraser stamped Easter […]