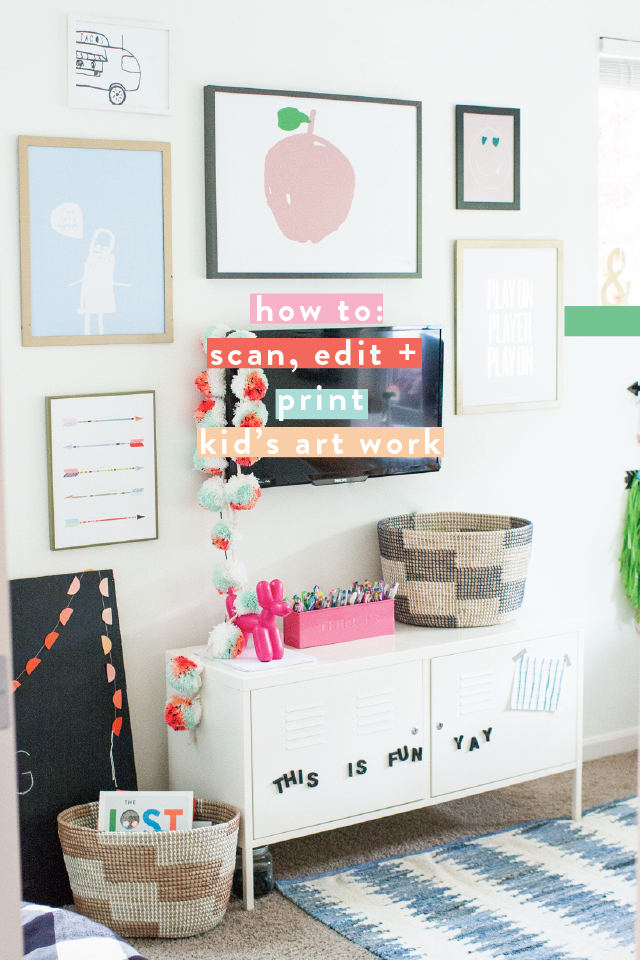
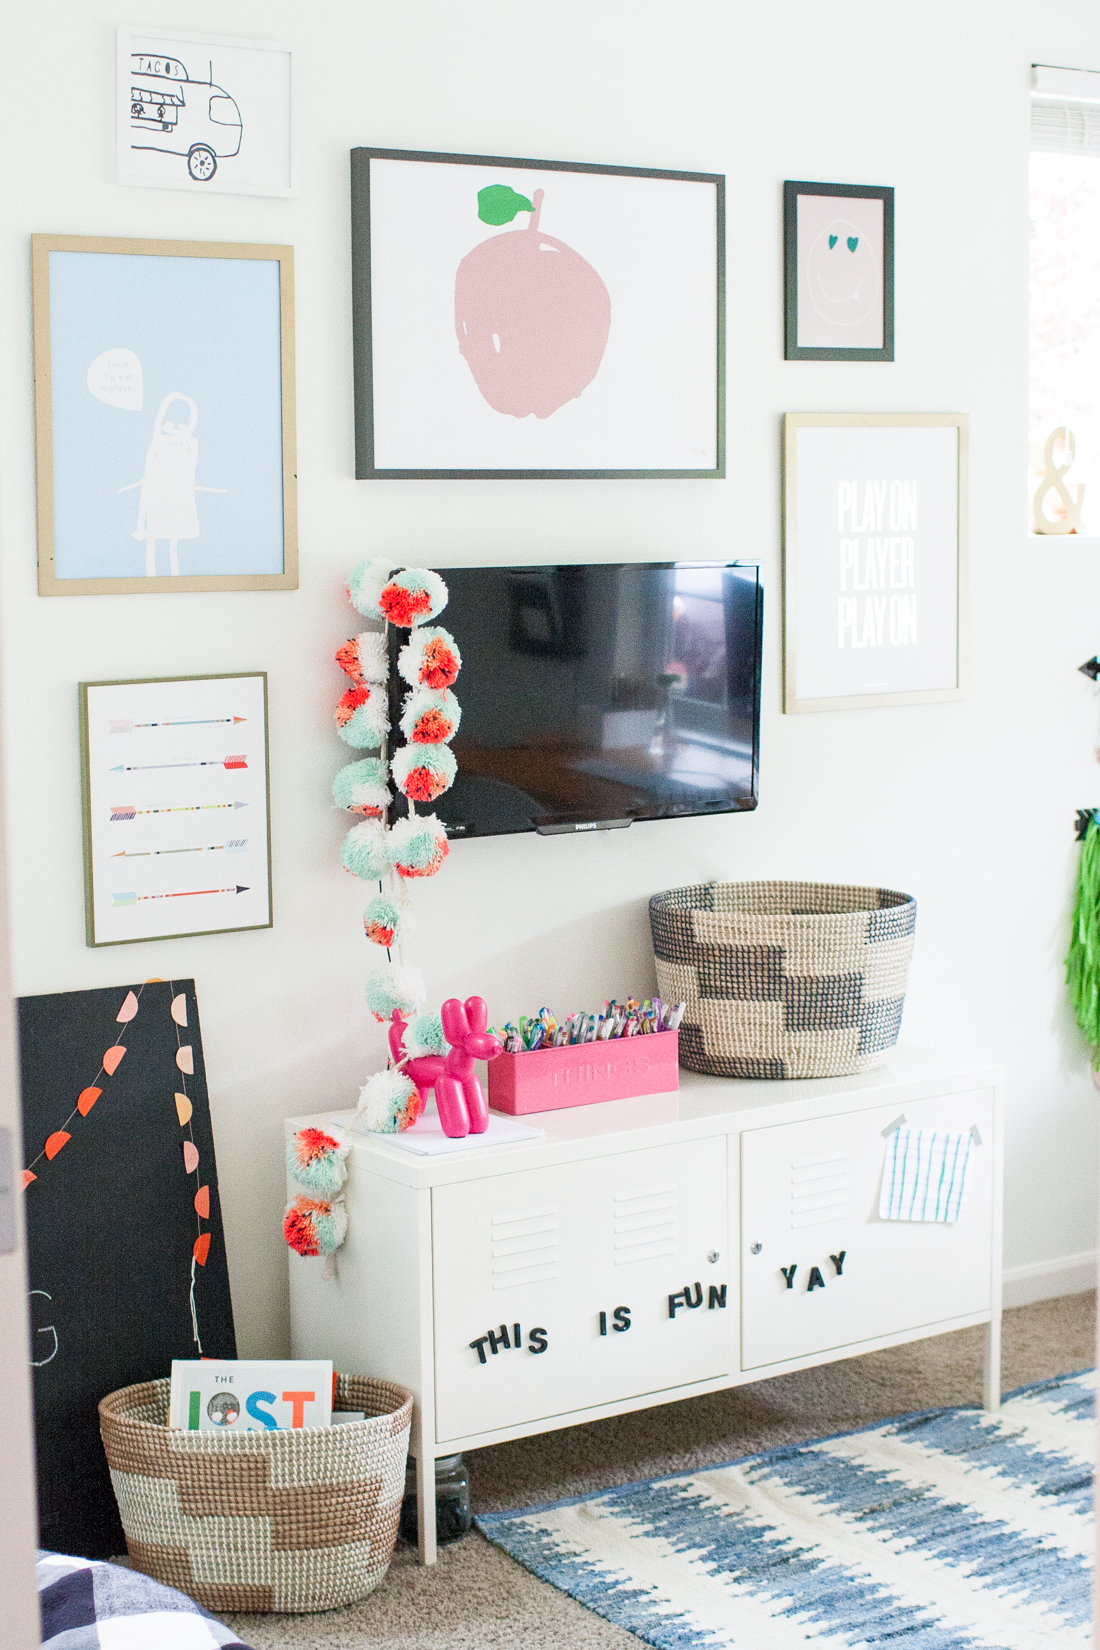
There are a number of places I look for inspiration when working… old pictures, an outing or road trip, a J.Crew catalogue (or is that retail therapy/procrastination?), going for a walk, etc. but my favorite inspiration comes from my kids’ drawings, doodles and art projects. I just honestly can’t get enough of them or the simple playfulness that they represent. So when I refreshed my office last year, I know I wanted to frame some of their art. Since then I’ve gotten several questions asking for details on editing the colors and blowing them up and I’m excited to be sharing the DIY today! I’m going to keep it pretty generic since I know there are several different photo editing options out there and I don’t want anyone to feel like this tutorial won’t work for them because there is always a way!
YOU’LL NEED:
- a photo editing software (such as photoshop or gimp)
- white card stock and selection of markers (we just used black) or drawings/doodles your kids have made
- a photo or printing service you like to use (we mostly use costco!)
- frames if desired
HERE’S HOW:
- Set out paper and markers and ask kids to draw/scribble/doodle. Just remember the less busy the paper get’s the easier it will be to edit… and the better it will look framed. I had asked my kids to “keep it simple” but still had to kinda watch or they would just keep adding to it! ha! I also gave my kids 4 pieces of paper each so they didn’t feel like they had to fit everything into one pic.
- Scan pictures into your computer — make sure the setting is high resolution and 300dpi! I always have the best luck when I save or export as a PNG file.
- If you want to make changes, open in photo editing program and get to work! I started by cleaning up some of their lines and things I didn’t want included in the big prints. For instance, Griffin’s apple drawing also included a sun with a face which was really cute but not as clear. So I used the healing/erase tool to take it off. You could also do a clipping mask around the things you want to keep. I also loved that he had written his name so wanted to make sure I kept that part!
- Next, play with the colors… if you get stuck, hop on youtube and search “how to manipulate colors in (name of program)?”
- When your done, export/save file as a high resolution 300dpi PNG and upload to the printer!
Taco truck by Ozzie :) the backend was a little messy so I cropped it and “tacos” was hard to read so I erased and added text in it’s place.
For Tilly’s emoji below, I made her outline white, eyes teal, and added a background color. It was originally all black like the taco truck above.
For Griffin’s lava monster I made the marker lines white, added a background and added a word bubble with text so we would always know what the drawing was of!
Love having these sweet drawings in my office and would be equally cute to do the same with toddler scribbles, don’t you think!?
Let me know if you have any questions or suggestions.
Love ya!
xo, Rae


So cute! Love their original art work! Great idea, thanks!